
Boro are Japanese textiles that have been patched or mended, usually to repair worn out sections of clothing. Traditionally cotton, linen and hemp were stitched in layers not only to repair clothing but to add warmth. Boro is now considered a very distinctive art form and very fashionable.

After years of working with Satin, Lace and Chiffon I took a dive into my stash of Linen, Lace, and various textiles and made some samples of my version of Boro. It’s very basic sewing but I found myself wondering if I was doing it correctly. I looked through Pinterest and read some blogs, and saw that there are endless ways to do this. After making some samples I was ready to make a garment using my new technique.
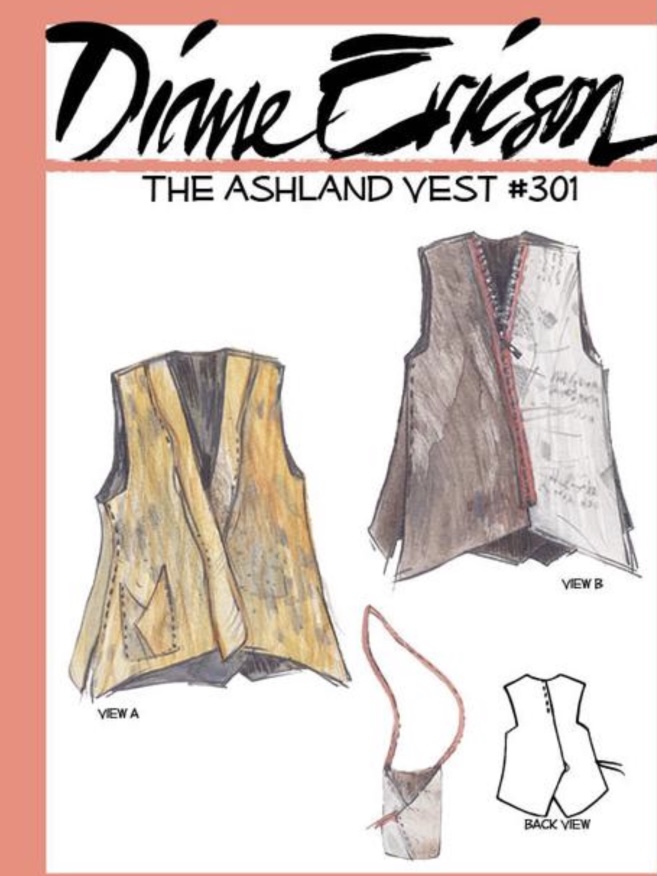
I decided to use Diane Ericson’s Ashland Vest pattern as I knew I had lots of choices in how I was going to make this. It’s always fun to read through the instructions of Diane’s patterns because they are full of inspiration and information to enjoy before you start. I had no complete plan when I began so I just worked on the right front to get started.
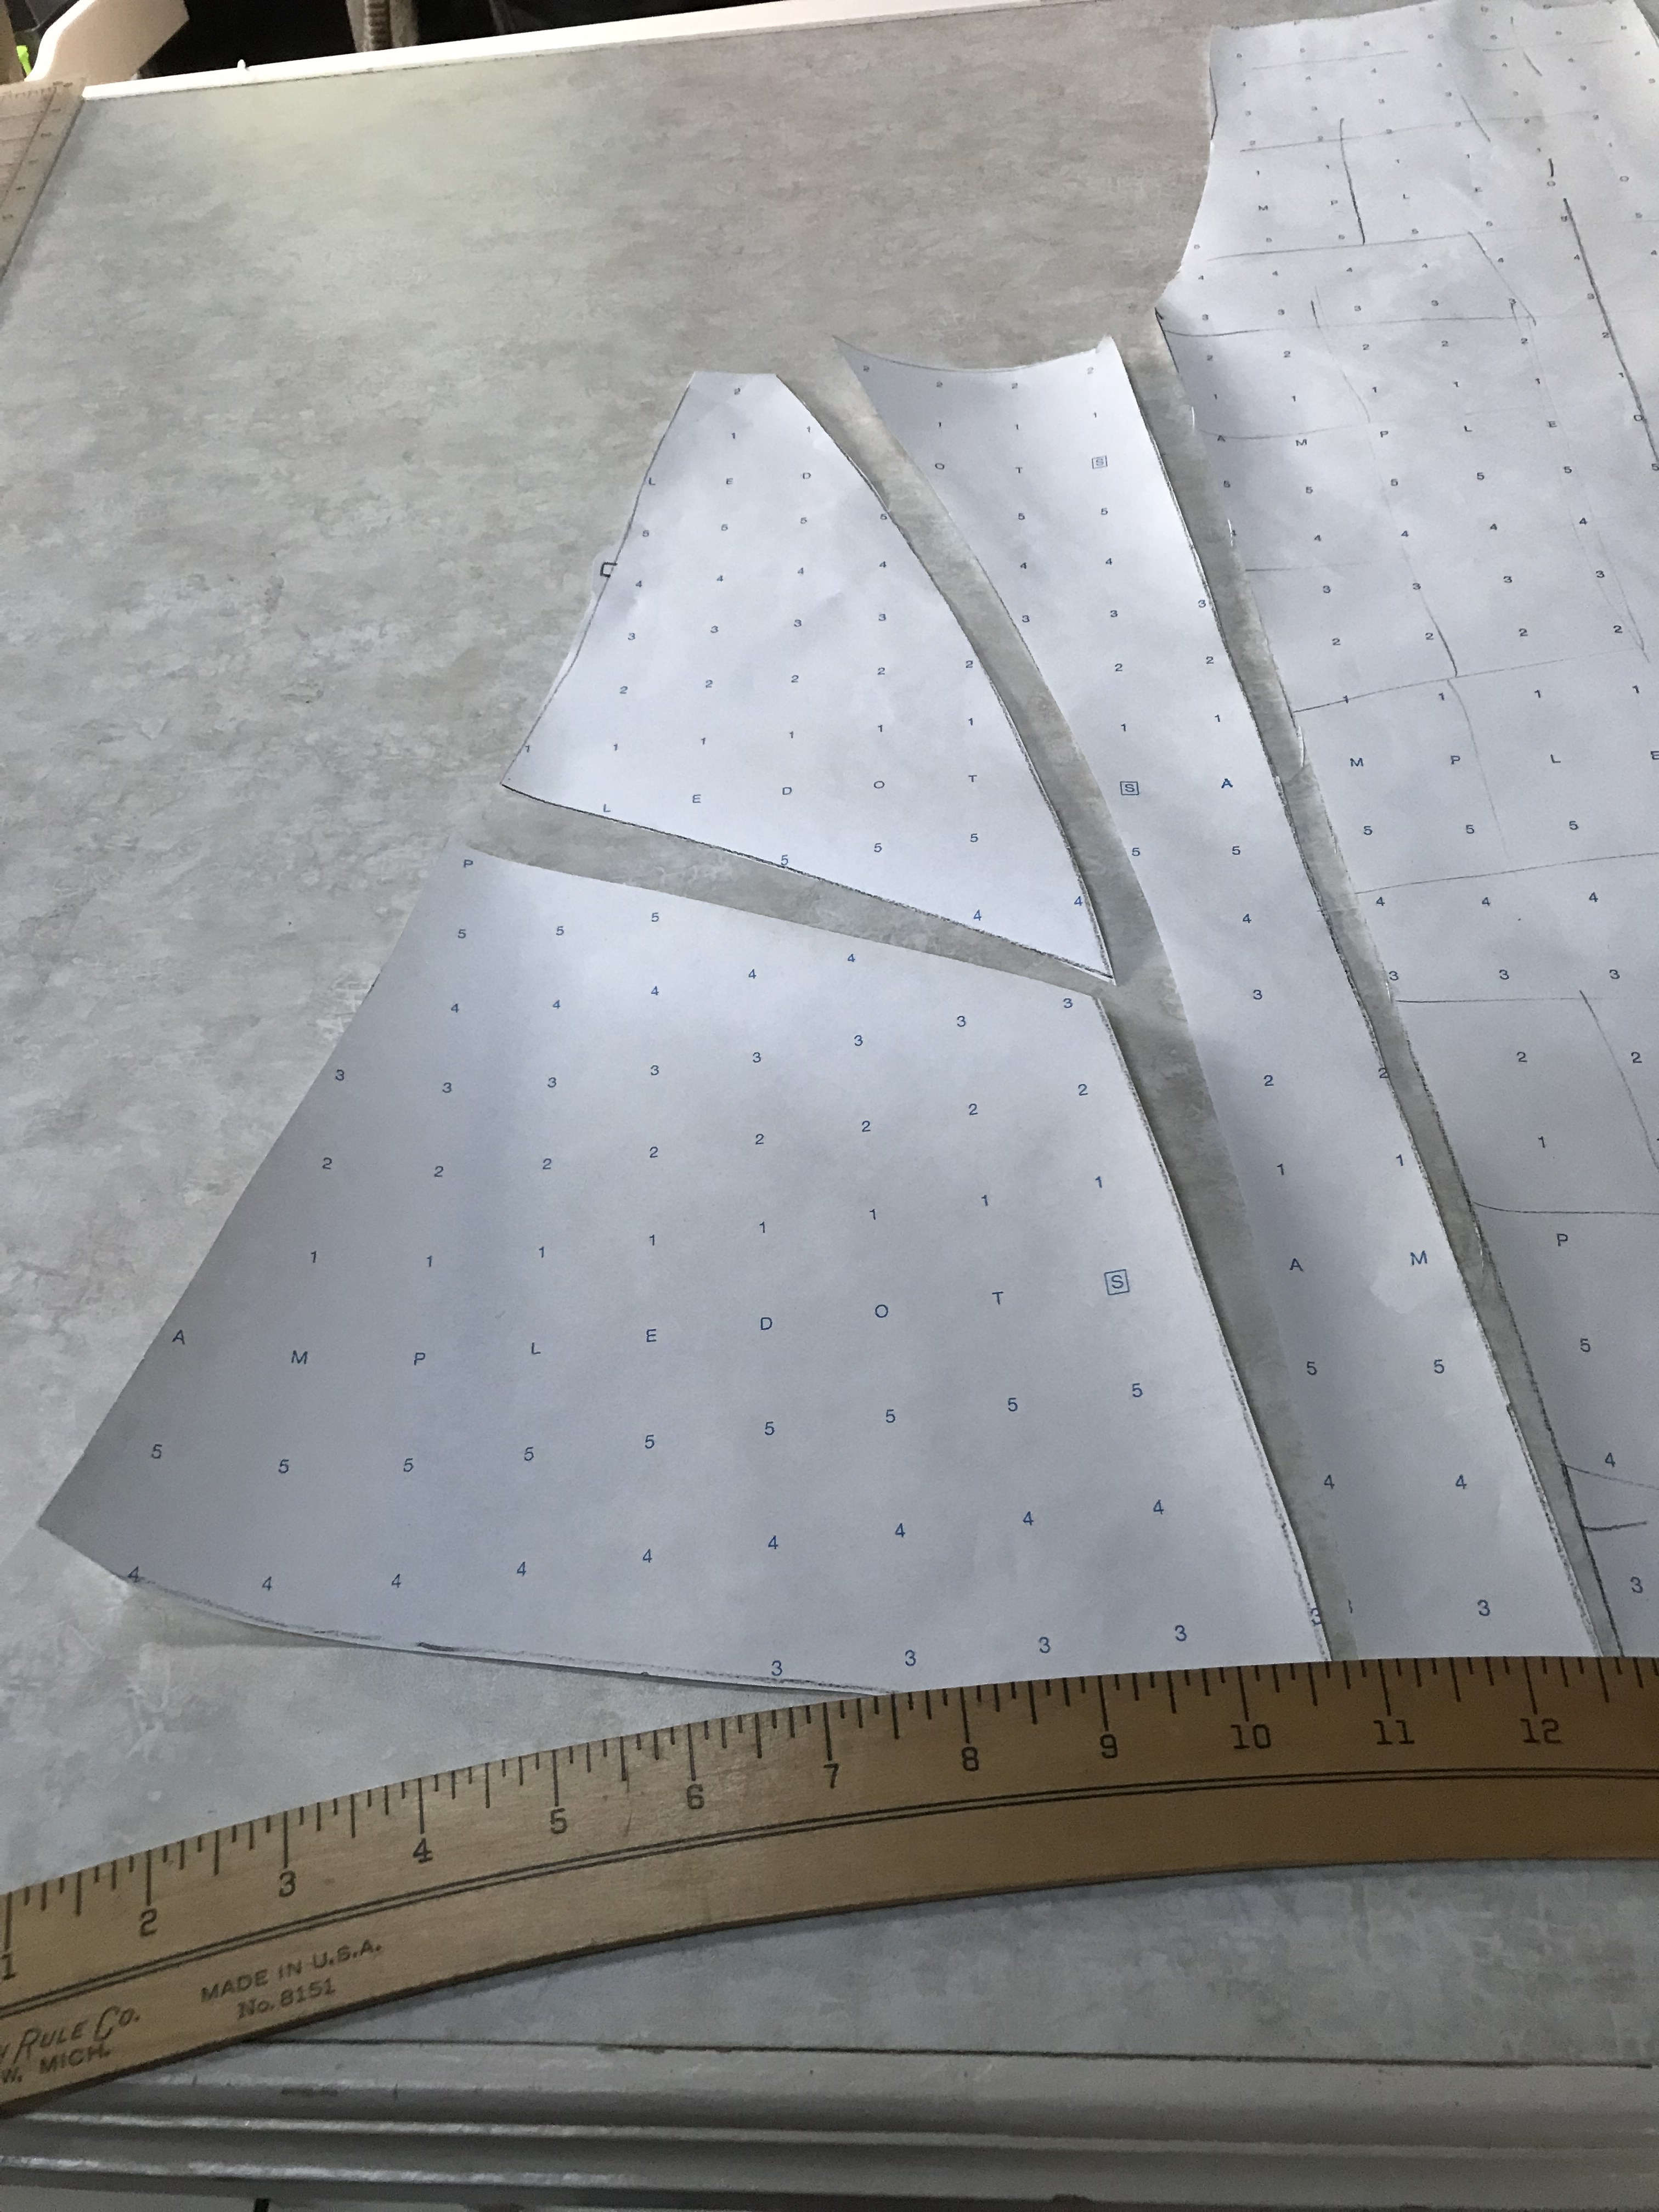
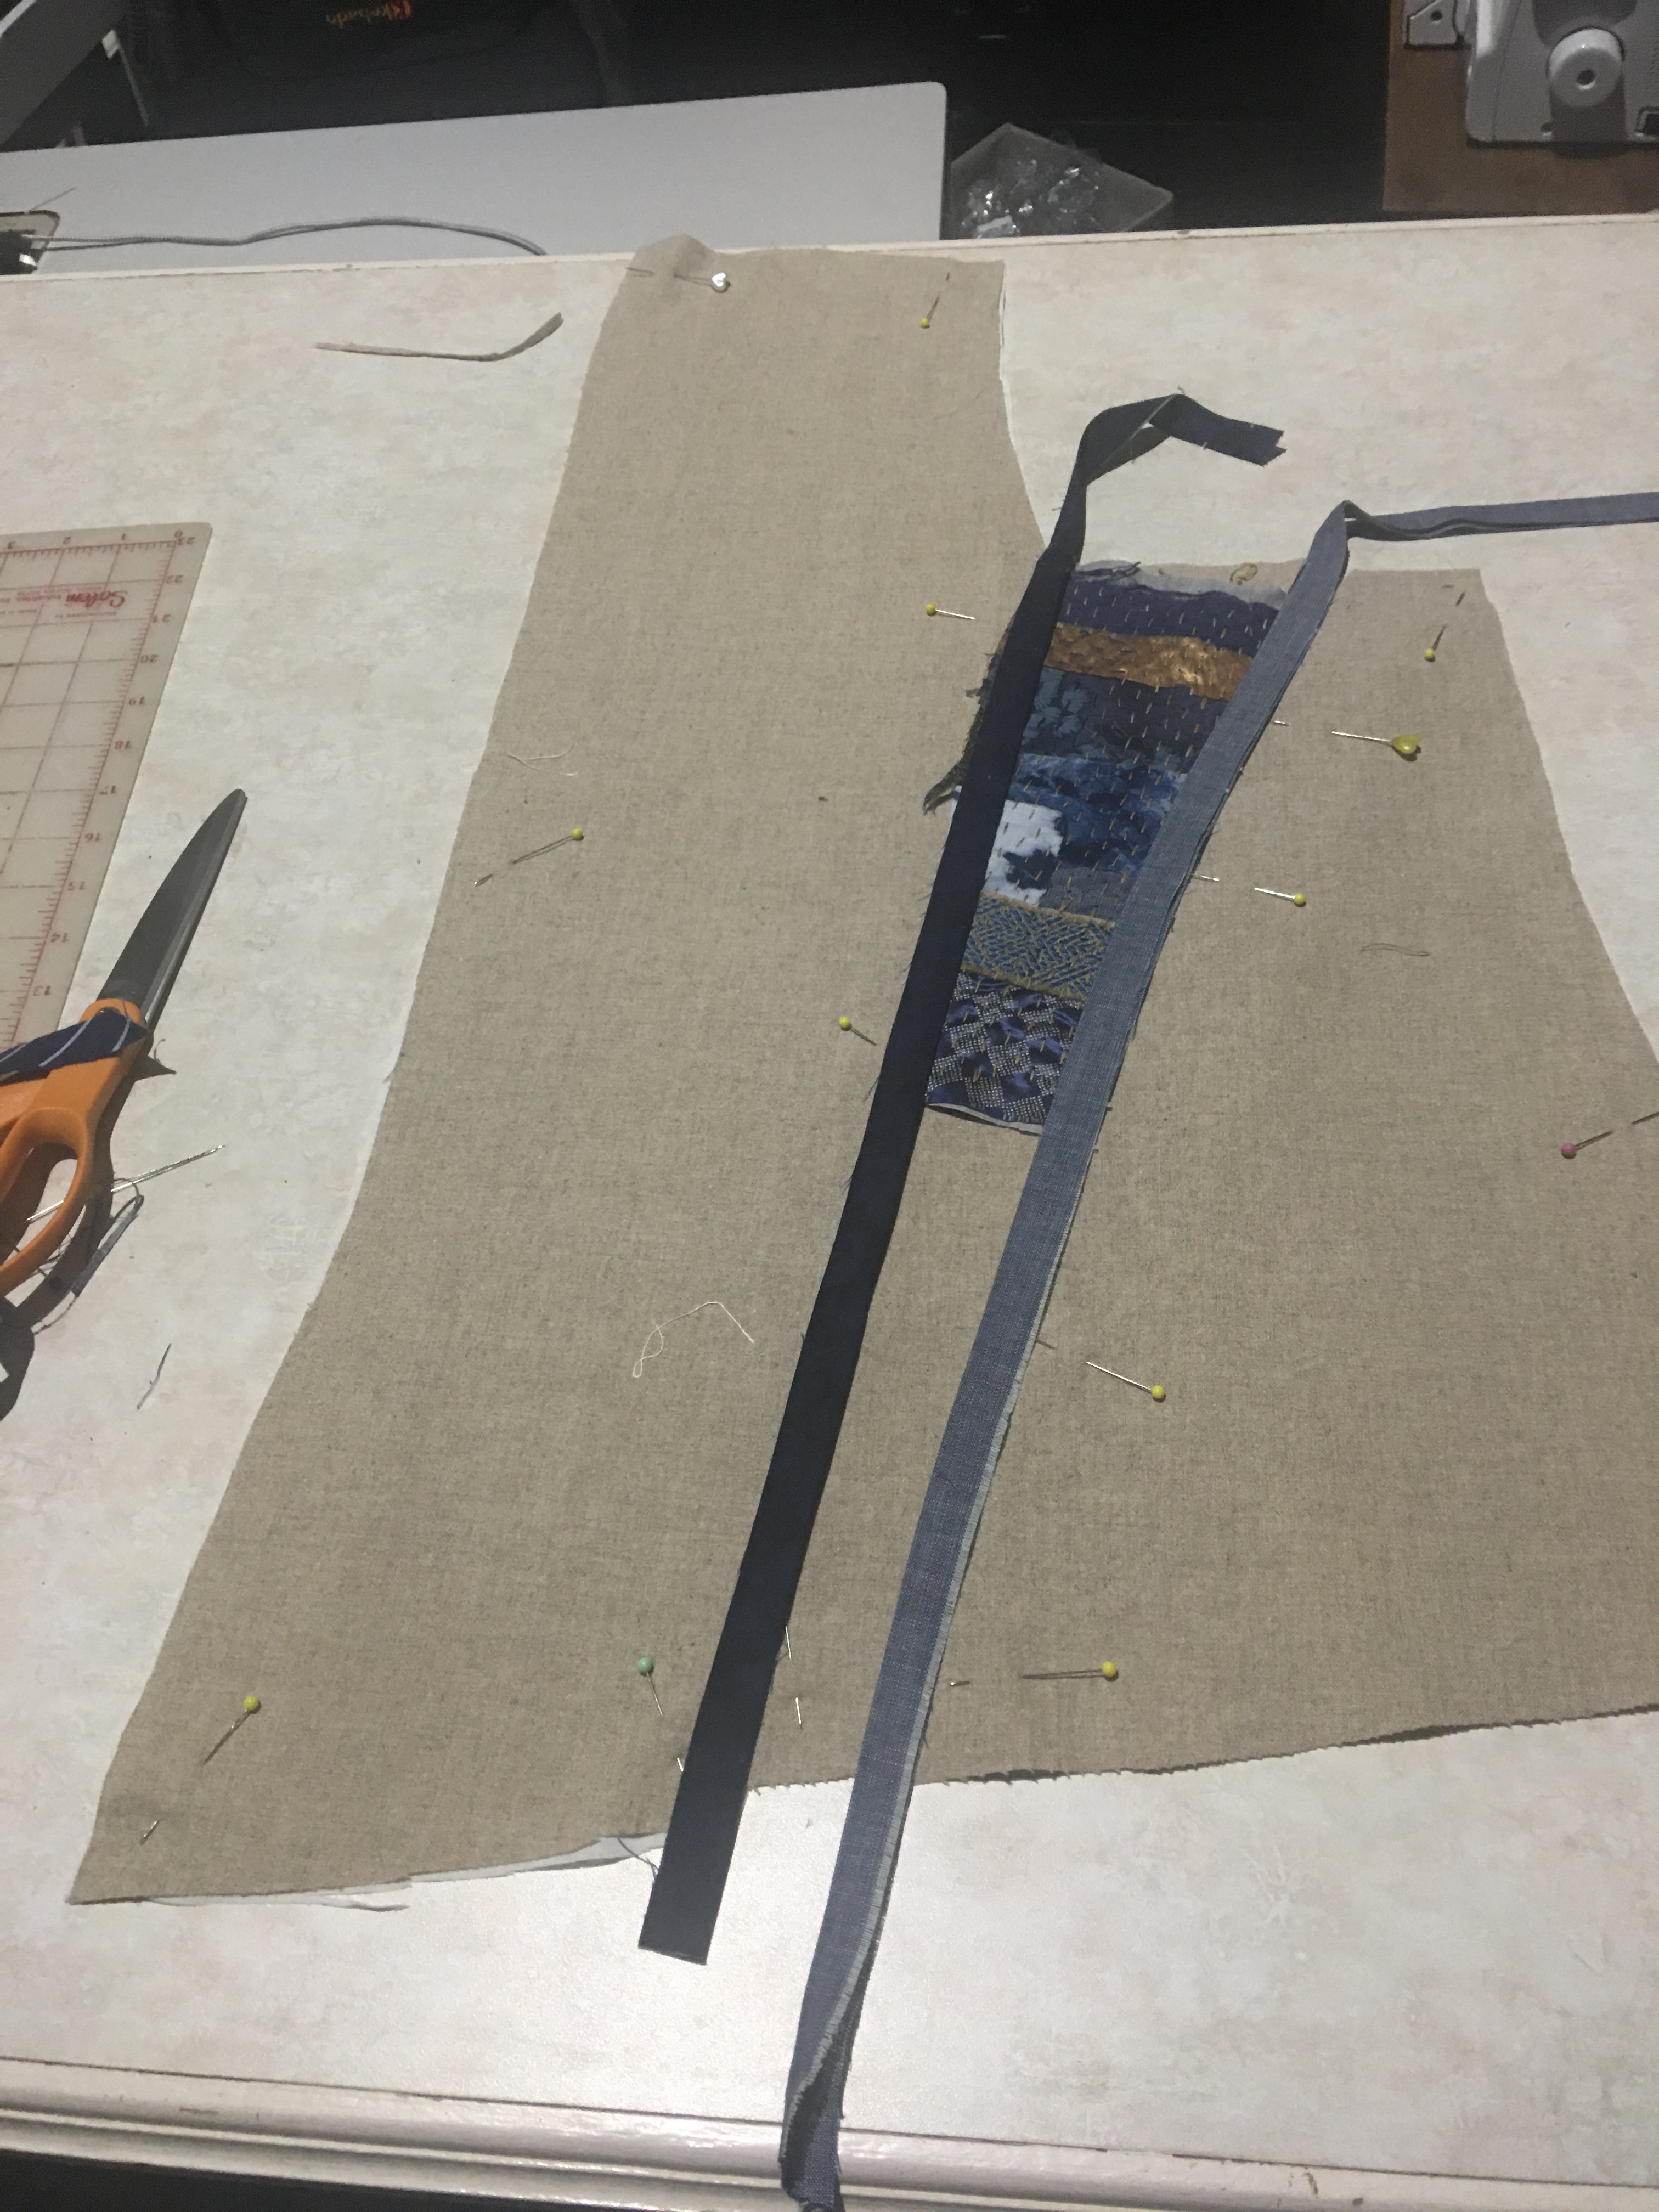
Before I start a project I always look through Pinterest, and design ideas that I have saved etc. and come up with a rough idea of the way I want to go. In this case I made a few copies of the vest right front, and played around with design lines until I liked how it looked on paper. I cut the pattern apart and I started with the main front panel. I did that panel completely before I worked on the rest.


I cut different fabrics and played around with fabric type and color, but I liked my original fabric the best, and thought the ‘Boro’ would stand out better with one color background. I find sometimes I obsess too much over fabric and color combinations so I am working on making a decision and going with it.


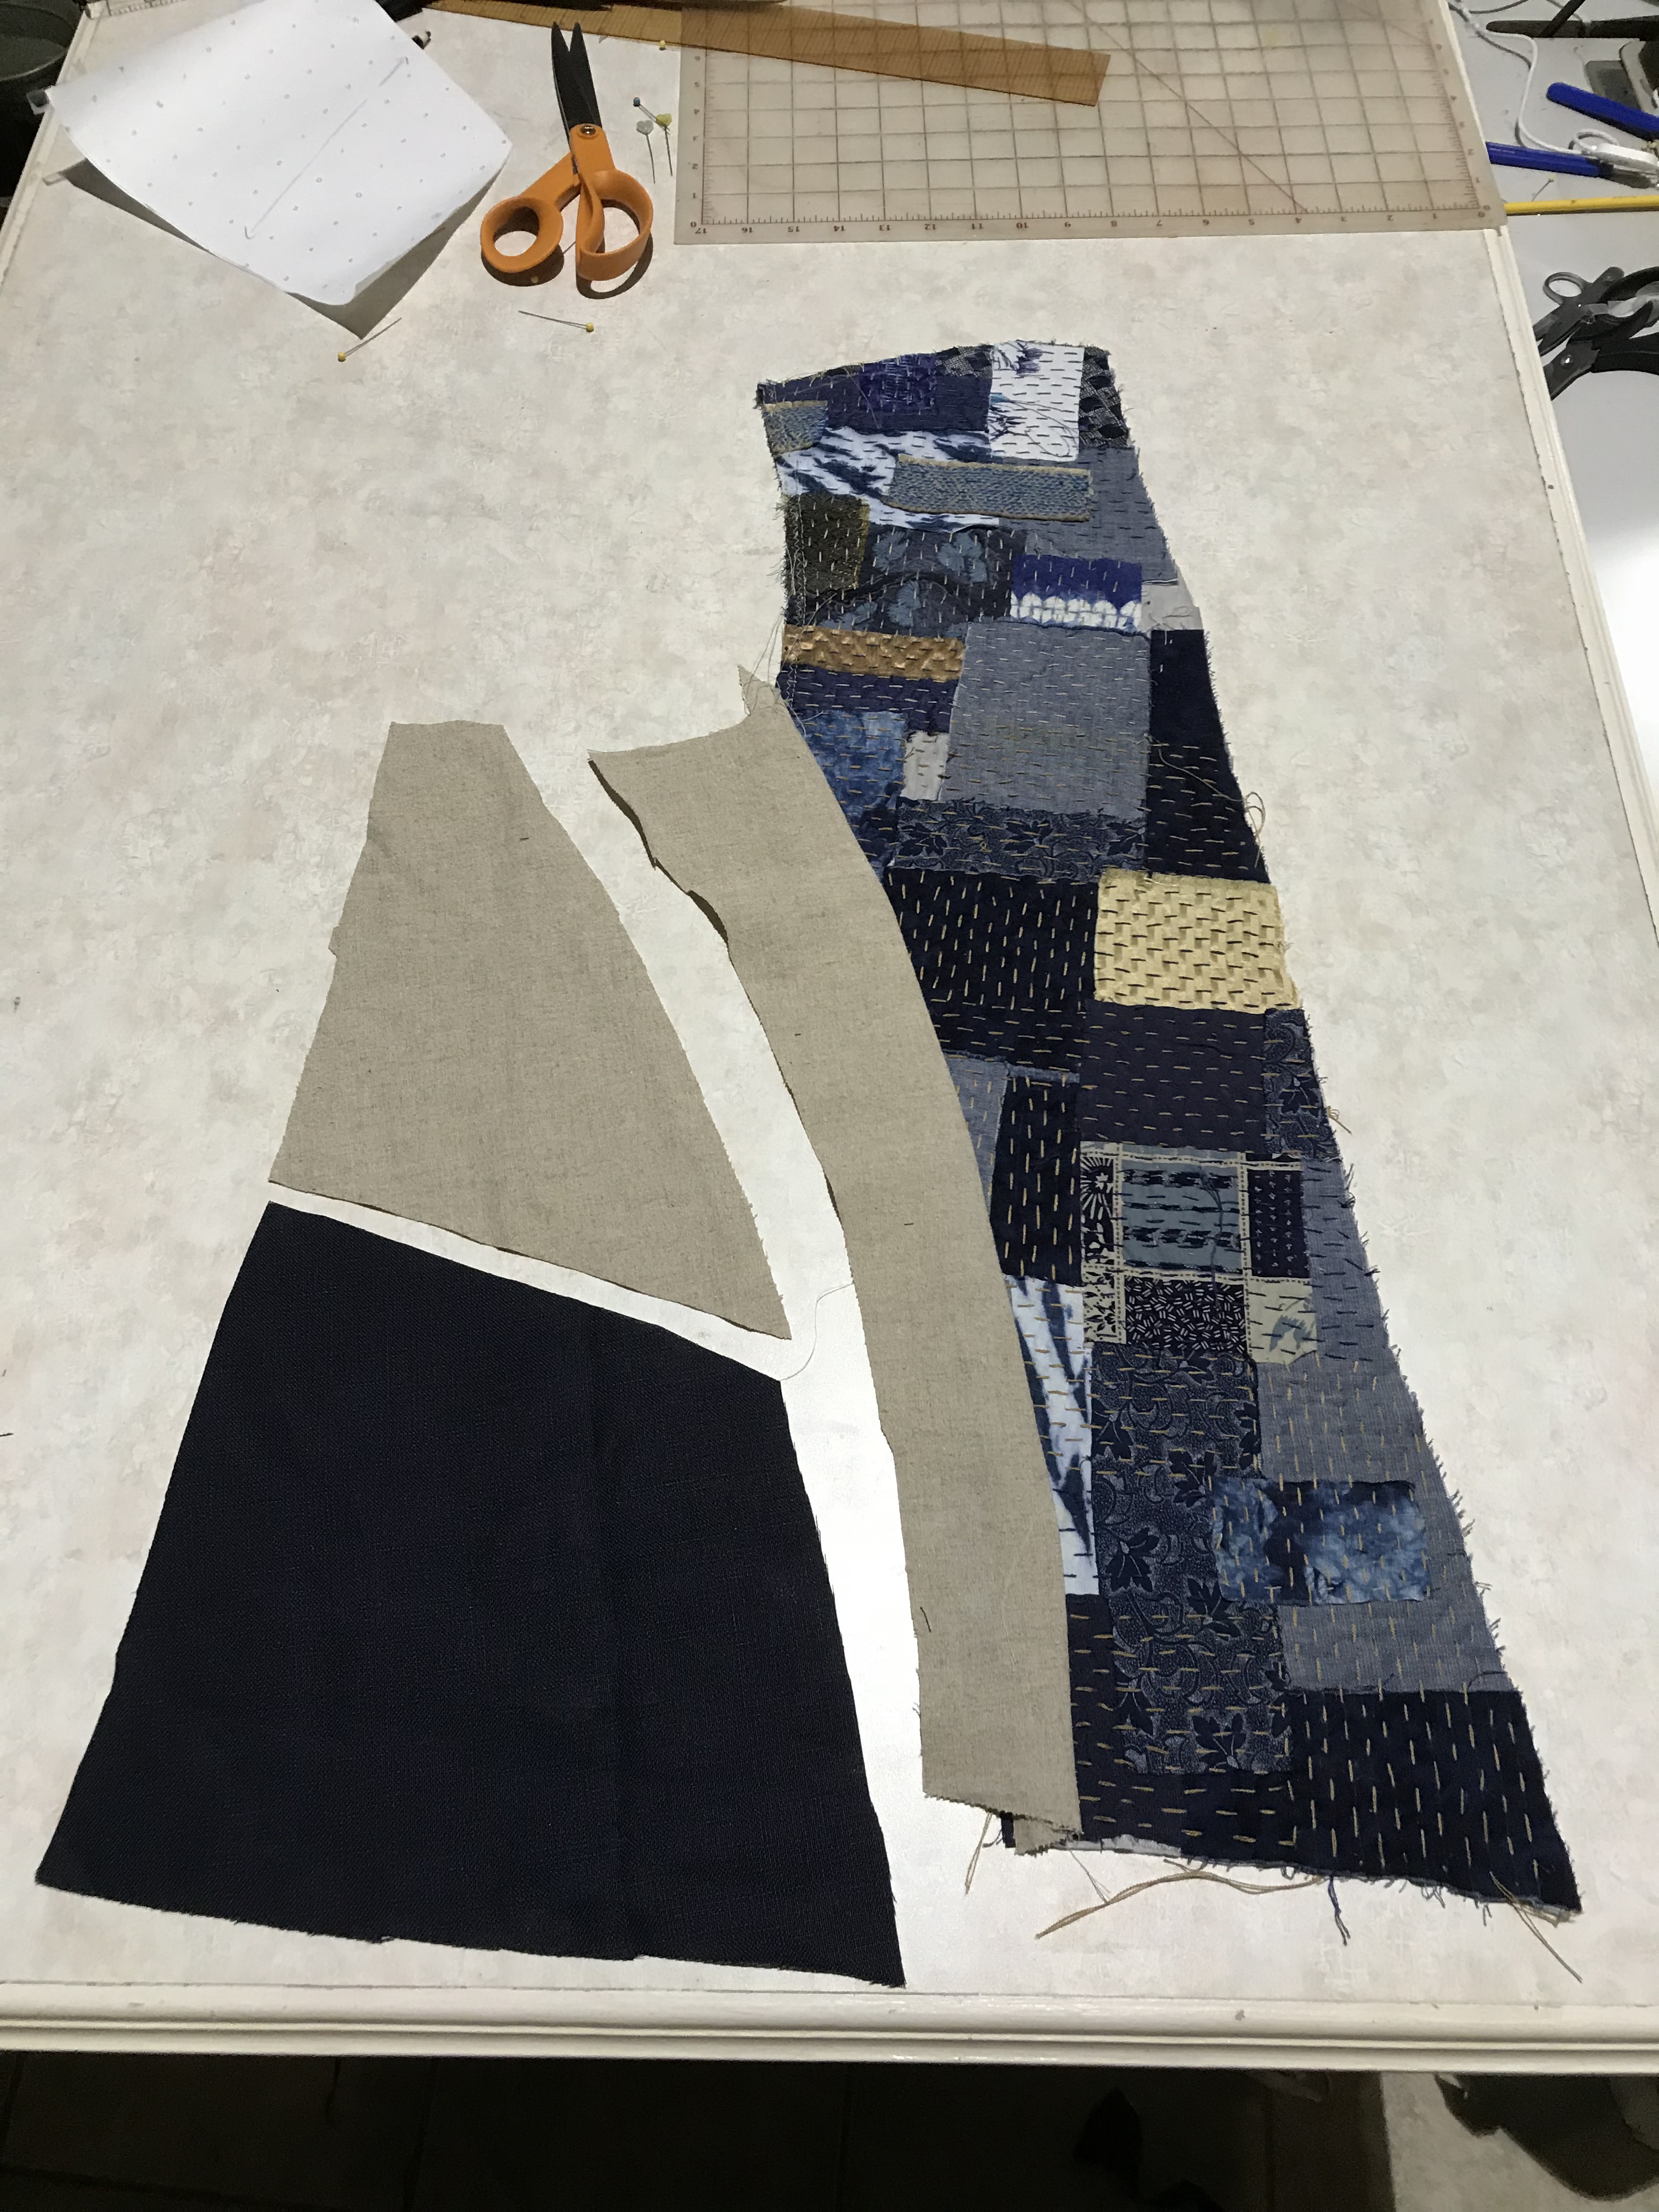
Once I decided on my fabric, I just went with it and came up with ideas as I went along. I played around with piping and different inserts and I liked the look of the flat fabric insert the best.
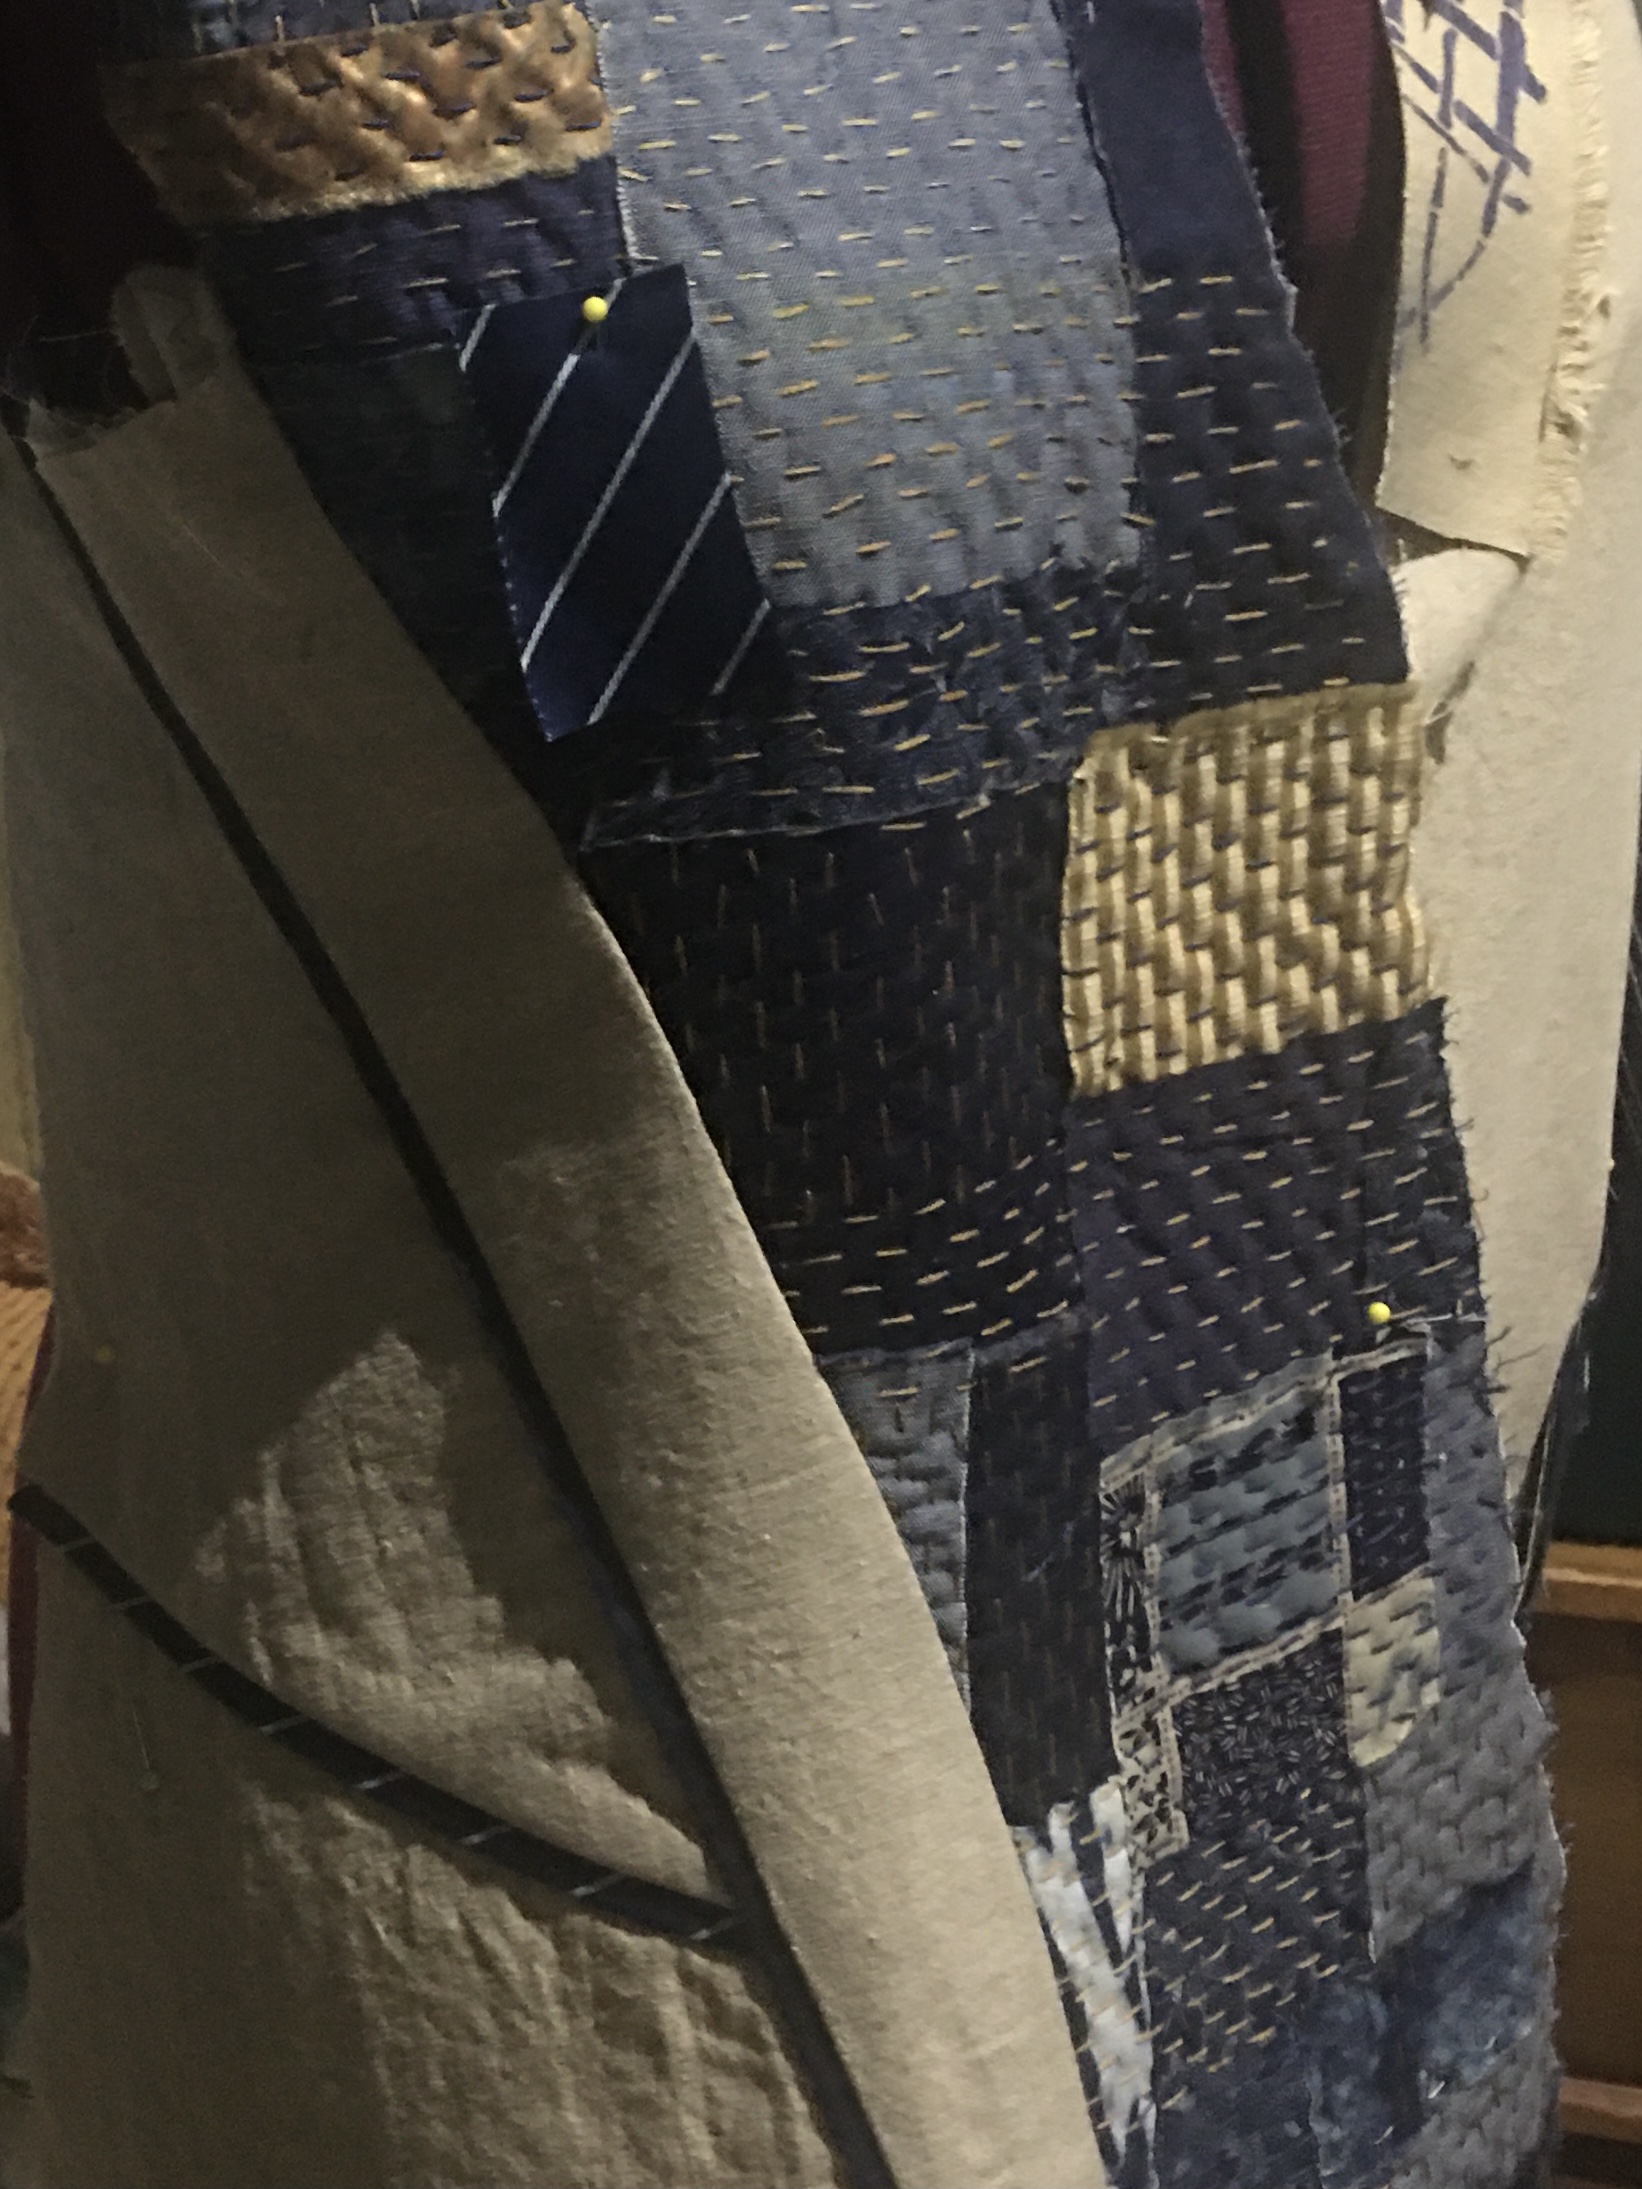
Moving on to the left side I had a new plan. I wanted less of the ‘Boro’ as I felt the vest would look ‘lighter’ and have more movement in the design. I again made a pattern and came up with an idea I liked,and after I pieced it together I put it on my dressform and decided on my fabric placement for the neck edge. After I was happy with it, I pinned the pieces in place and then hand stitched them to the linen.

At this point I wanted to add more hand stitching to highlight the seams and I really like how it came out. I did not trust myself to have the stitches look nice so I marked the underlining and did a lot of my stitching on the wrong side.


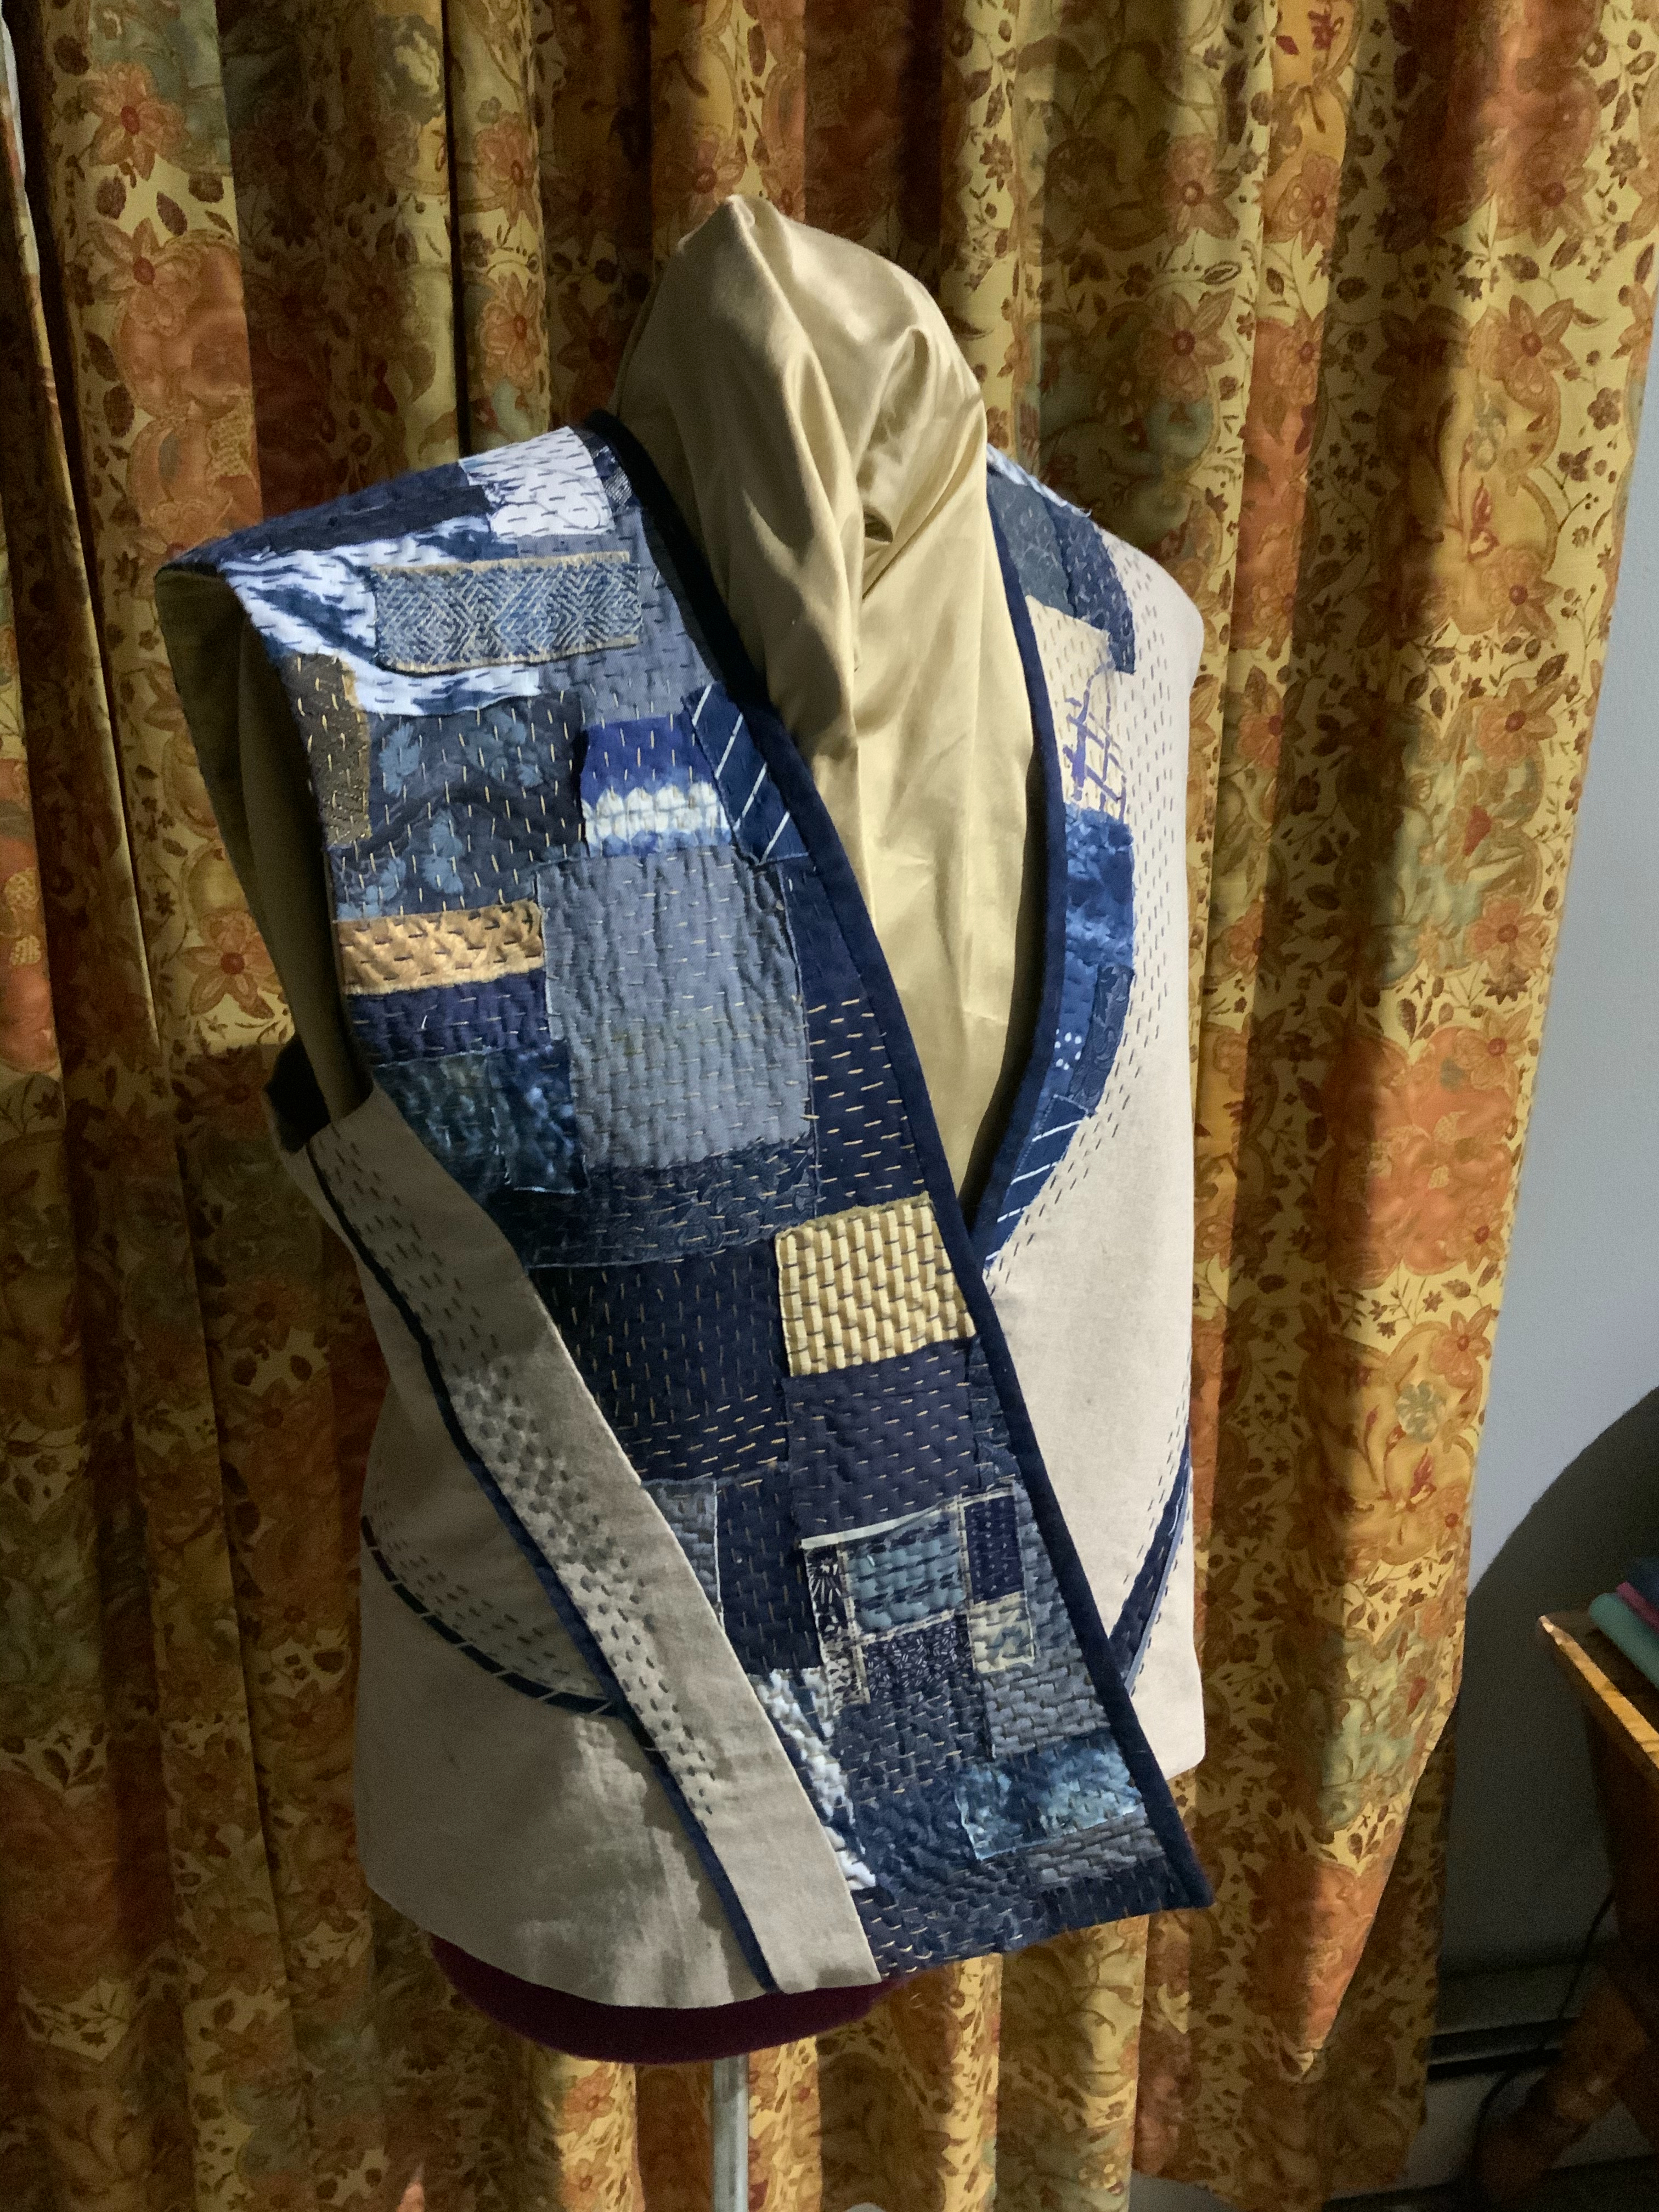
My next task was deciding on the back of the vest. I followed the same steps as the front, tracing the pattern pieces and played with a layout. I wanted to continue the Boro design over the shoulder so I had a seamless transition. Again I just kept adding textiles until I liked the outcome. Adding the hand stitches was enjoyable and I didn’t overthink it. When both sides of the back were finished. I put the vest together.
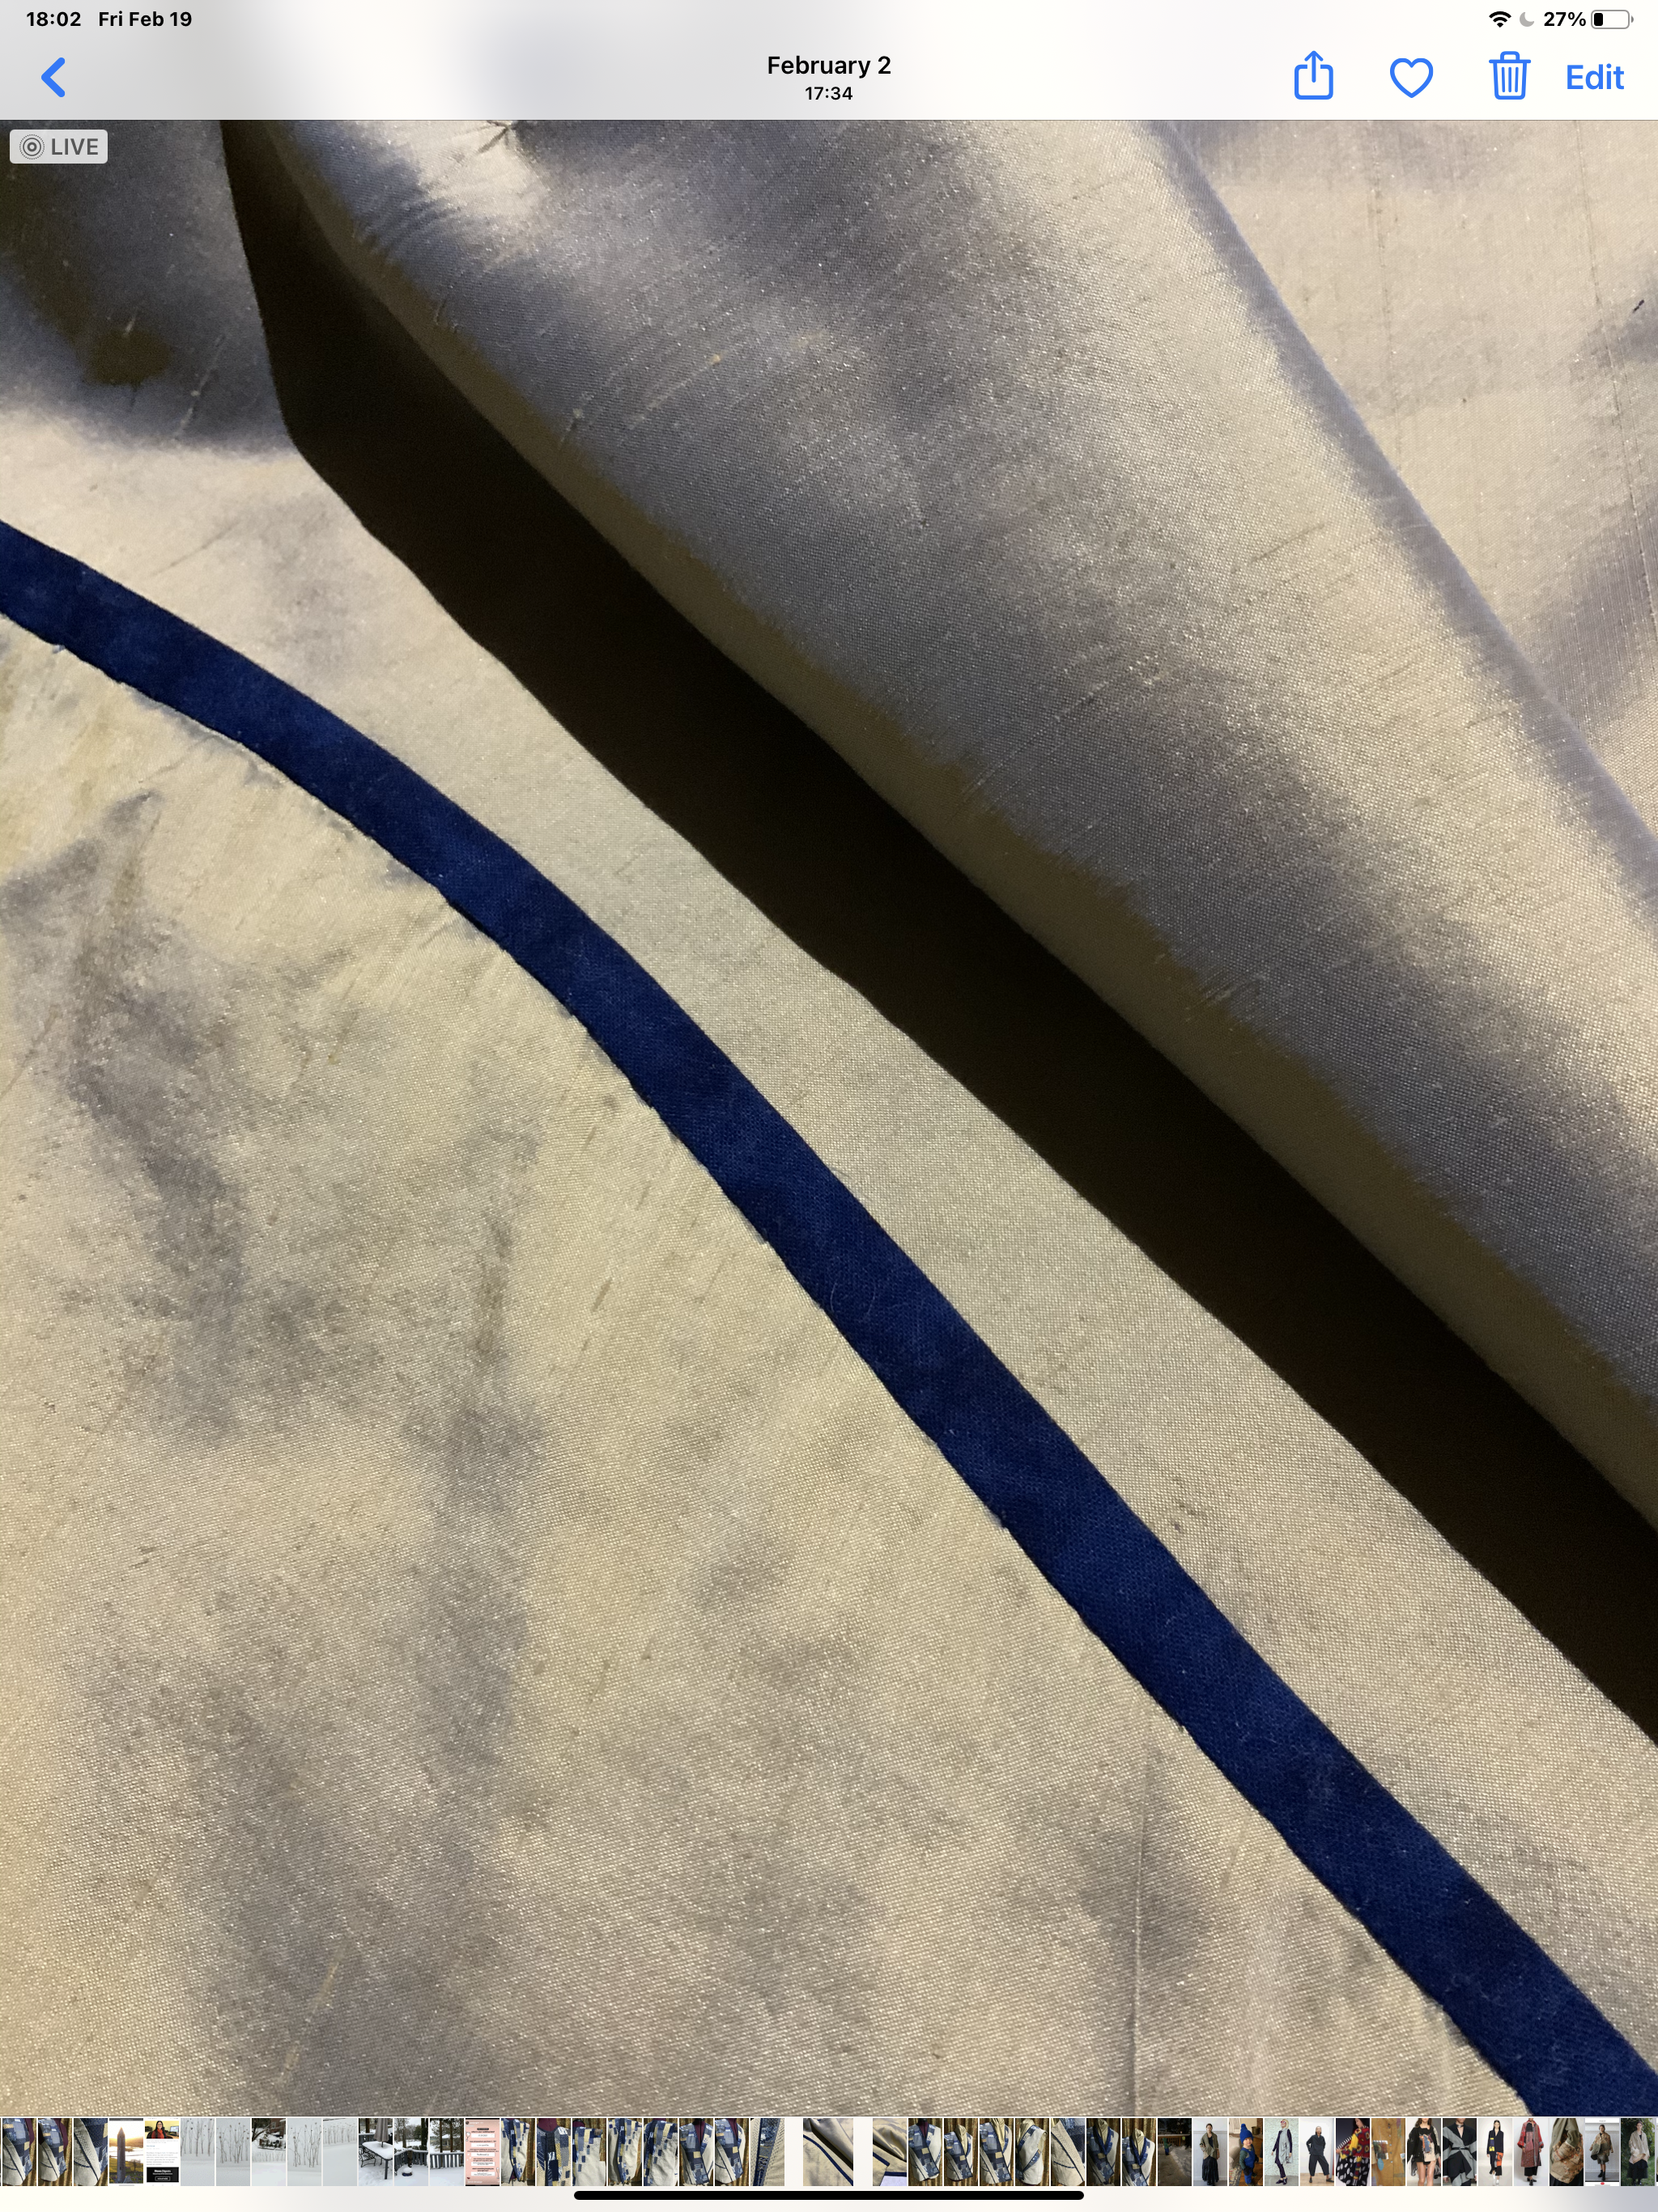


I choose a gold silk dupioni to line the vest. I finished off the armholes and the hem first, then layered the vest and the fabric, wrong sides together. I used a binding to finish off the remaining edges.

The fabric I used was %100 Linen.
The underlining was %100 cotton.
The fabrics pieces were a variety of fabrics from silk, quilting cottons,Home Decorating, canvas etc.
I cut the binding 2ins.wide.
I used regular embroidery floss for my hand stitching.

I LOVE what you did with this vest. It’s fabulous. Hope I can see you in it some day. A contemporary take on boro. 🙂
Thanks Collins. It took me a while to make it but I enjoyed the experience. I am deciding on a new project to work on.
Wonderful result. So appreciate your describing your process. When I’m in location in Harrisburg again I’ll be acting on your inspiration–probably with a Diane Ericson I-Ching jacket. Thank you for sharing your energy and talent.
Glad you enjoyed it. It’s a great way to keep an account of the process and any changes I make.
Love your write up. I was supposed to teach a Boro & a Sashiko class at Quiltfest in Greenville SC last year but the show had to be cancelled. So now it’s 2022. I love Sashiko & Boro & the hand stitching. Nancy Schreiber taught it at an Ericson’s retreat in Canby Or.. many years ago. Can’t wait to see what you’ve done! Loretta Phipps
On Thu, Mar 11, 2021, 6:18 PM Inspired Sewing by Mary Glenn wrote:
> maryglenn posted: ” Boro are Japanese textiles that have been patched or > mended, usually to repair worn out sections of clothing. Traditionally > cotton, linen and hemp were stitched in layers not only to repair clothing > but to add warmth. Boro is now considered a very distin” >
Thanks Loretta. This was my first attempt so now I want to do some more and maybe do it more ‘organic’. I would like to see your take on it.
YOU are so awsome Mary!!! Your Vest is a beauty and I love the combo you put together….a nice departure from the formal wear fabrics you have used for so long!!! Love what you are creating my friend! XOXO Diane
Beautiful garment And helpful blog. Thanks. CashmereSally, still on Bloglovin
Thank you. I really enjoyed the hand stitching. I have another Boro in the works.