The Great White Shirt.

When ever I see lists of the best clothing items to have in ones closet, white shirts are always featured.I have been following the Runway shows on Style.com, and shirts are featured a lot. It is one of the most versatile pieces of clothing and can be worn casually everyday, or as dramatic evening wear. For example:

image
Casual wear.
image

Evening wear.

I wanted to add a white shirt to my wardrobe and I had Katherine Tilton’s Vogue 8748 (out of print) on my ‘to make’ list so it was perfect for this project.

image

I chose a cotton broadcloth from my in house fabric store, (don’t we all have one of those) as it would show details well and would be comfortable to wear. After spending some time bonding with the pattern I made the following additions. Because the design is very loose fitting I added some stitched diagonal tucks to the front and back to add the illusion of shape. I was really pleased how this turned out and it was easy. I auditioned some tucks on a piece of the fabric while making my decision by ironing creases in the fabric to see what would work best. I did not want a true bias as I thought it might stretch so as math was never one of my strong points I am not sure what the angle is.
This is what that looked like.
image
image

My next addition was to the collar. Because I have short hair I like a high collar. I added a second collar, using the original pattern piece for the neckline edge, but just made it slightly smaller to eliminate bulk. I love this and see many possibilities for this idea.

image

image

The next change was to the sleeve. After adding the tucks I made a cuff similar to the collar addition . I made the cuff, sewed the right side to the wrong side of the sleeve and after serging the seam, flipped it to the right side. This eliminated the need for a facing and the seam was hidden by the cuff. I added the cuff before I sewed the sleeve to the body of the shirt. I first learned about ‘piecework’ as it was called on my first job out of high school making Wrangler jeans and shirts in Ireland. A lot of details are finished first then the main pieces are put together. Here’ the finished sleeve.

image

image

I finished the rest of the shirt as per pattern directions. I couldn’t make my mind up what buttons to use but I actually like the simplicity of my ‘bridal buttons’.
Here I am in my finished shirt.

image

Here are some other ideas for your pleasure.

image

image

image<a

image

image

Posted in Uncategorized | Tagged | 6 Comments

New York New York!

One of my favorite things to do is to spend time in New York. Living on the east coast makes it possible and it’s only a 80 to 90 minute train ride. Recently I had a grand time by myself doing a little exploring. Most of the time I stay in the confines of the garment district but this time I ventured a little farther. I arrived in the afternoon with some family visiting from Ireland. It was pouring rain and with little time we decided to visit MOMA. It was suggested we visit the 4th floor where we were allowed to take pictures. Here is a brief selection that we saw.
image
image
image
image
image
image
image
image

I did’t quite get this last one. I just know I used one today to shovel my driveway!

The next day, having said goodbye to my brother who was returning to Ireland, my first stop was the Fashion Institute of Technology on 7th ave and 27th. I wanted to visit the book store to browse but it was a big disappointment. There were a lot of out of date books on display and even the text books for the students were not very exciting. I don’t need any but one can always look, right?
There are always interesting exhibits there, and to my surprise, because I did not do any research, I was able to see the current “Trend.ology” exhibit that is on until the end of April. It’s always fun to see the garments up close. Here is a description of the event.

https://www.fitnyc.edu/21786.asp

I spent about an hour there and then set out walking towards Lexington Ave. It’s about 5 long blocks but it was all new to me and it was a beautiful day so I enjoyed every moment. Between 6th and 7th I came across a tiny store selling leather and went in for a look. Inside was an old Jewish man with a long gray beard and he had to be over 80yrs old. I told him I wanted some small pieces to try and experiment and he was so helpful. The store was narrow but filled to the roof with lots of printed leather and remnants and full size pieces in every color. He also had hardware for making leather bags. Nothing had a price on it but I had to buy some so I chose 2 small pieces that I probably paid too much for, but it was worth it for the experience. I have not worked with leather so I am excited to give it a try. I wanted to take Aaron’s picture but he declined. The store is called Aaron’s Leather on 154 w.27th st. This is what I bought.

image
image
Walking towards my final destination I enjoyed some people-watching and took these pictures for fun.
image
I was not stressed do I did not have pie.
image
I think I have been going the wrong way on 7th ave.

My destination at 30th and Lexington was Dover Street Market. When I was visiting my son in London last year I found the original market and was so excited to see it had arrived stateside. The market, the brainchild of Rei Kawakubo, pairs young designers with well established ones to fill 7 floors of creative genius. If you get the chance it’s so worth the visit. I overheard a very glam New York lady say “How can I ever shop anywhere again?!”
I took (in a sneaky way)a few pictures, but check out the link to get a really good feel for the place.

image
image
image
image
image
image

http://ny.racked.com/archives/2013/12/23/the_top_10_most_important_things_to_know_about_the_dsm_opening.php
After quite a while there I started back to the fabric district after stopping for a Starbucks coffee to revive myself.
I made my first stop at Mood which is always fun but as I was looking for specific fabric for a client I stayed focused and did not but anything for myself. I have a few favorite stores mostly on 39st. and I did find what I was looking for. There is so much to see it’s almost better to have an idea of what you want as it keeps you focused. Of course its very easy to ignore you plan and come home with amazing treasures.
I am finding great places to explore in NY all the time and will definitely seek out some more. To be continued!

Posted in Uncategorized | Leave a comment

Making colorful handbags.

image

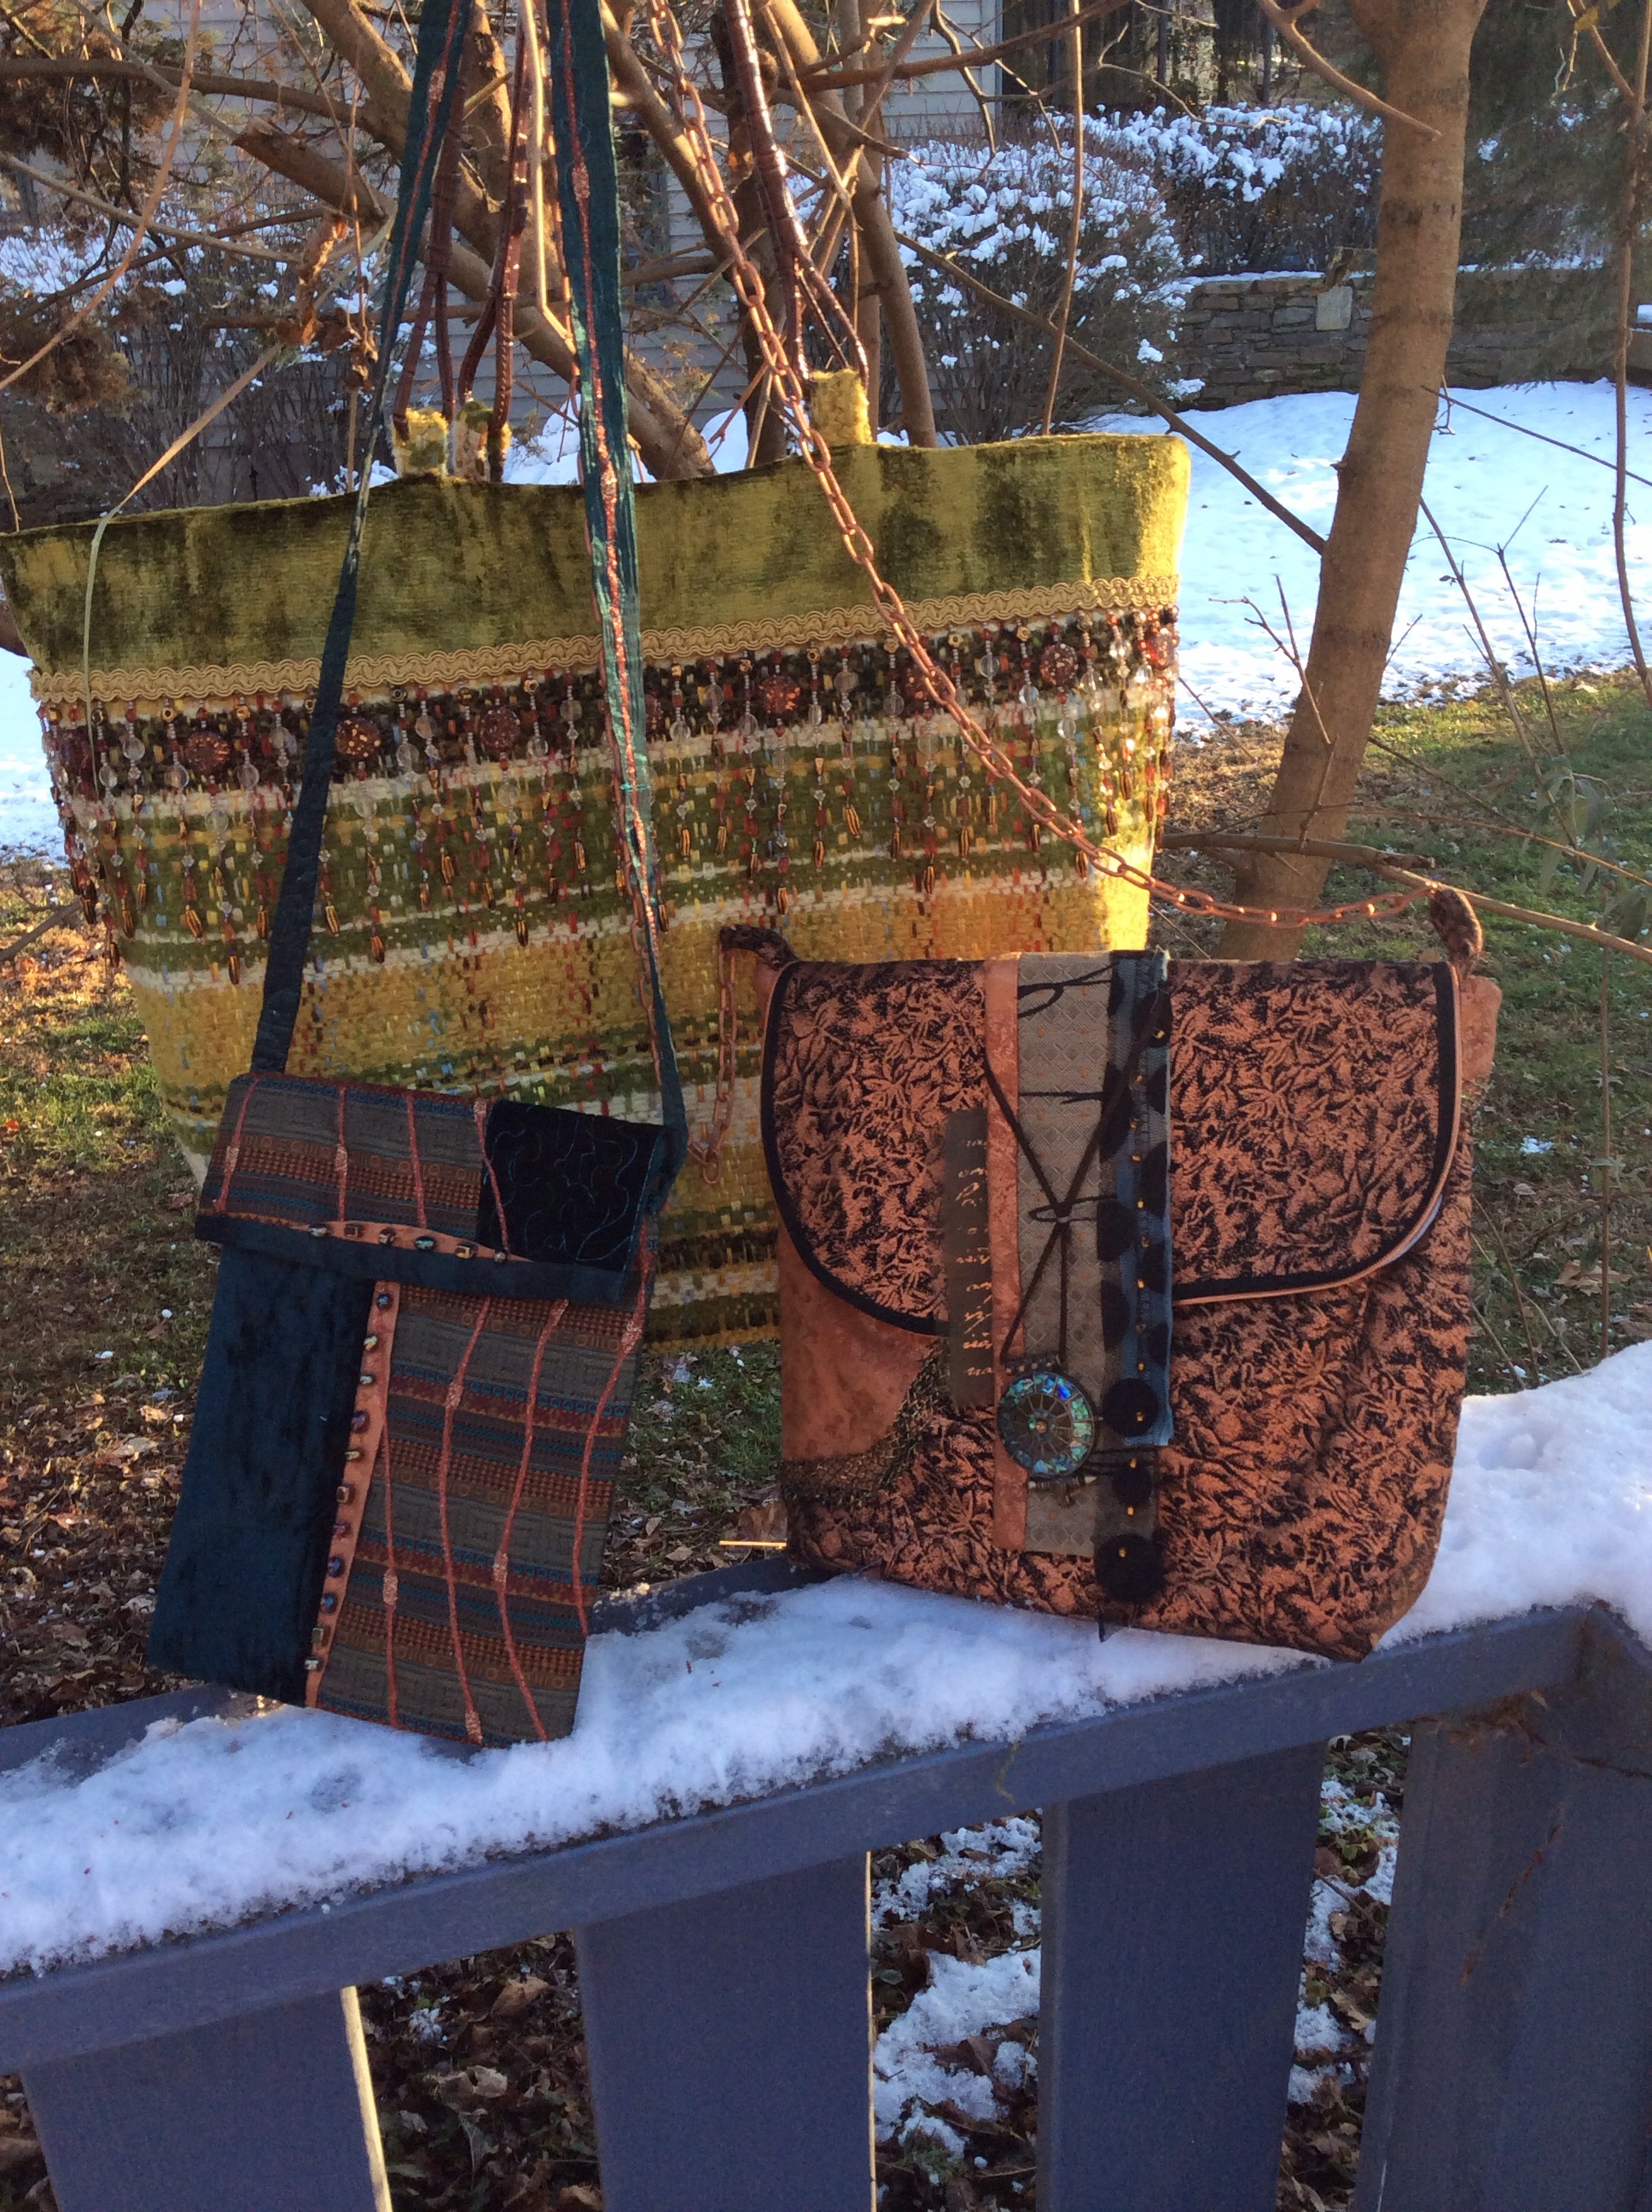
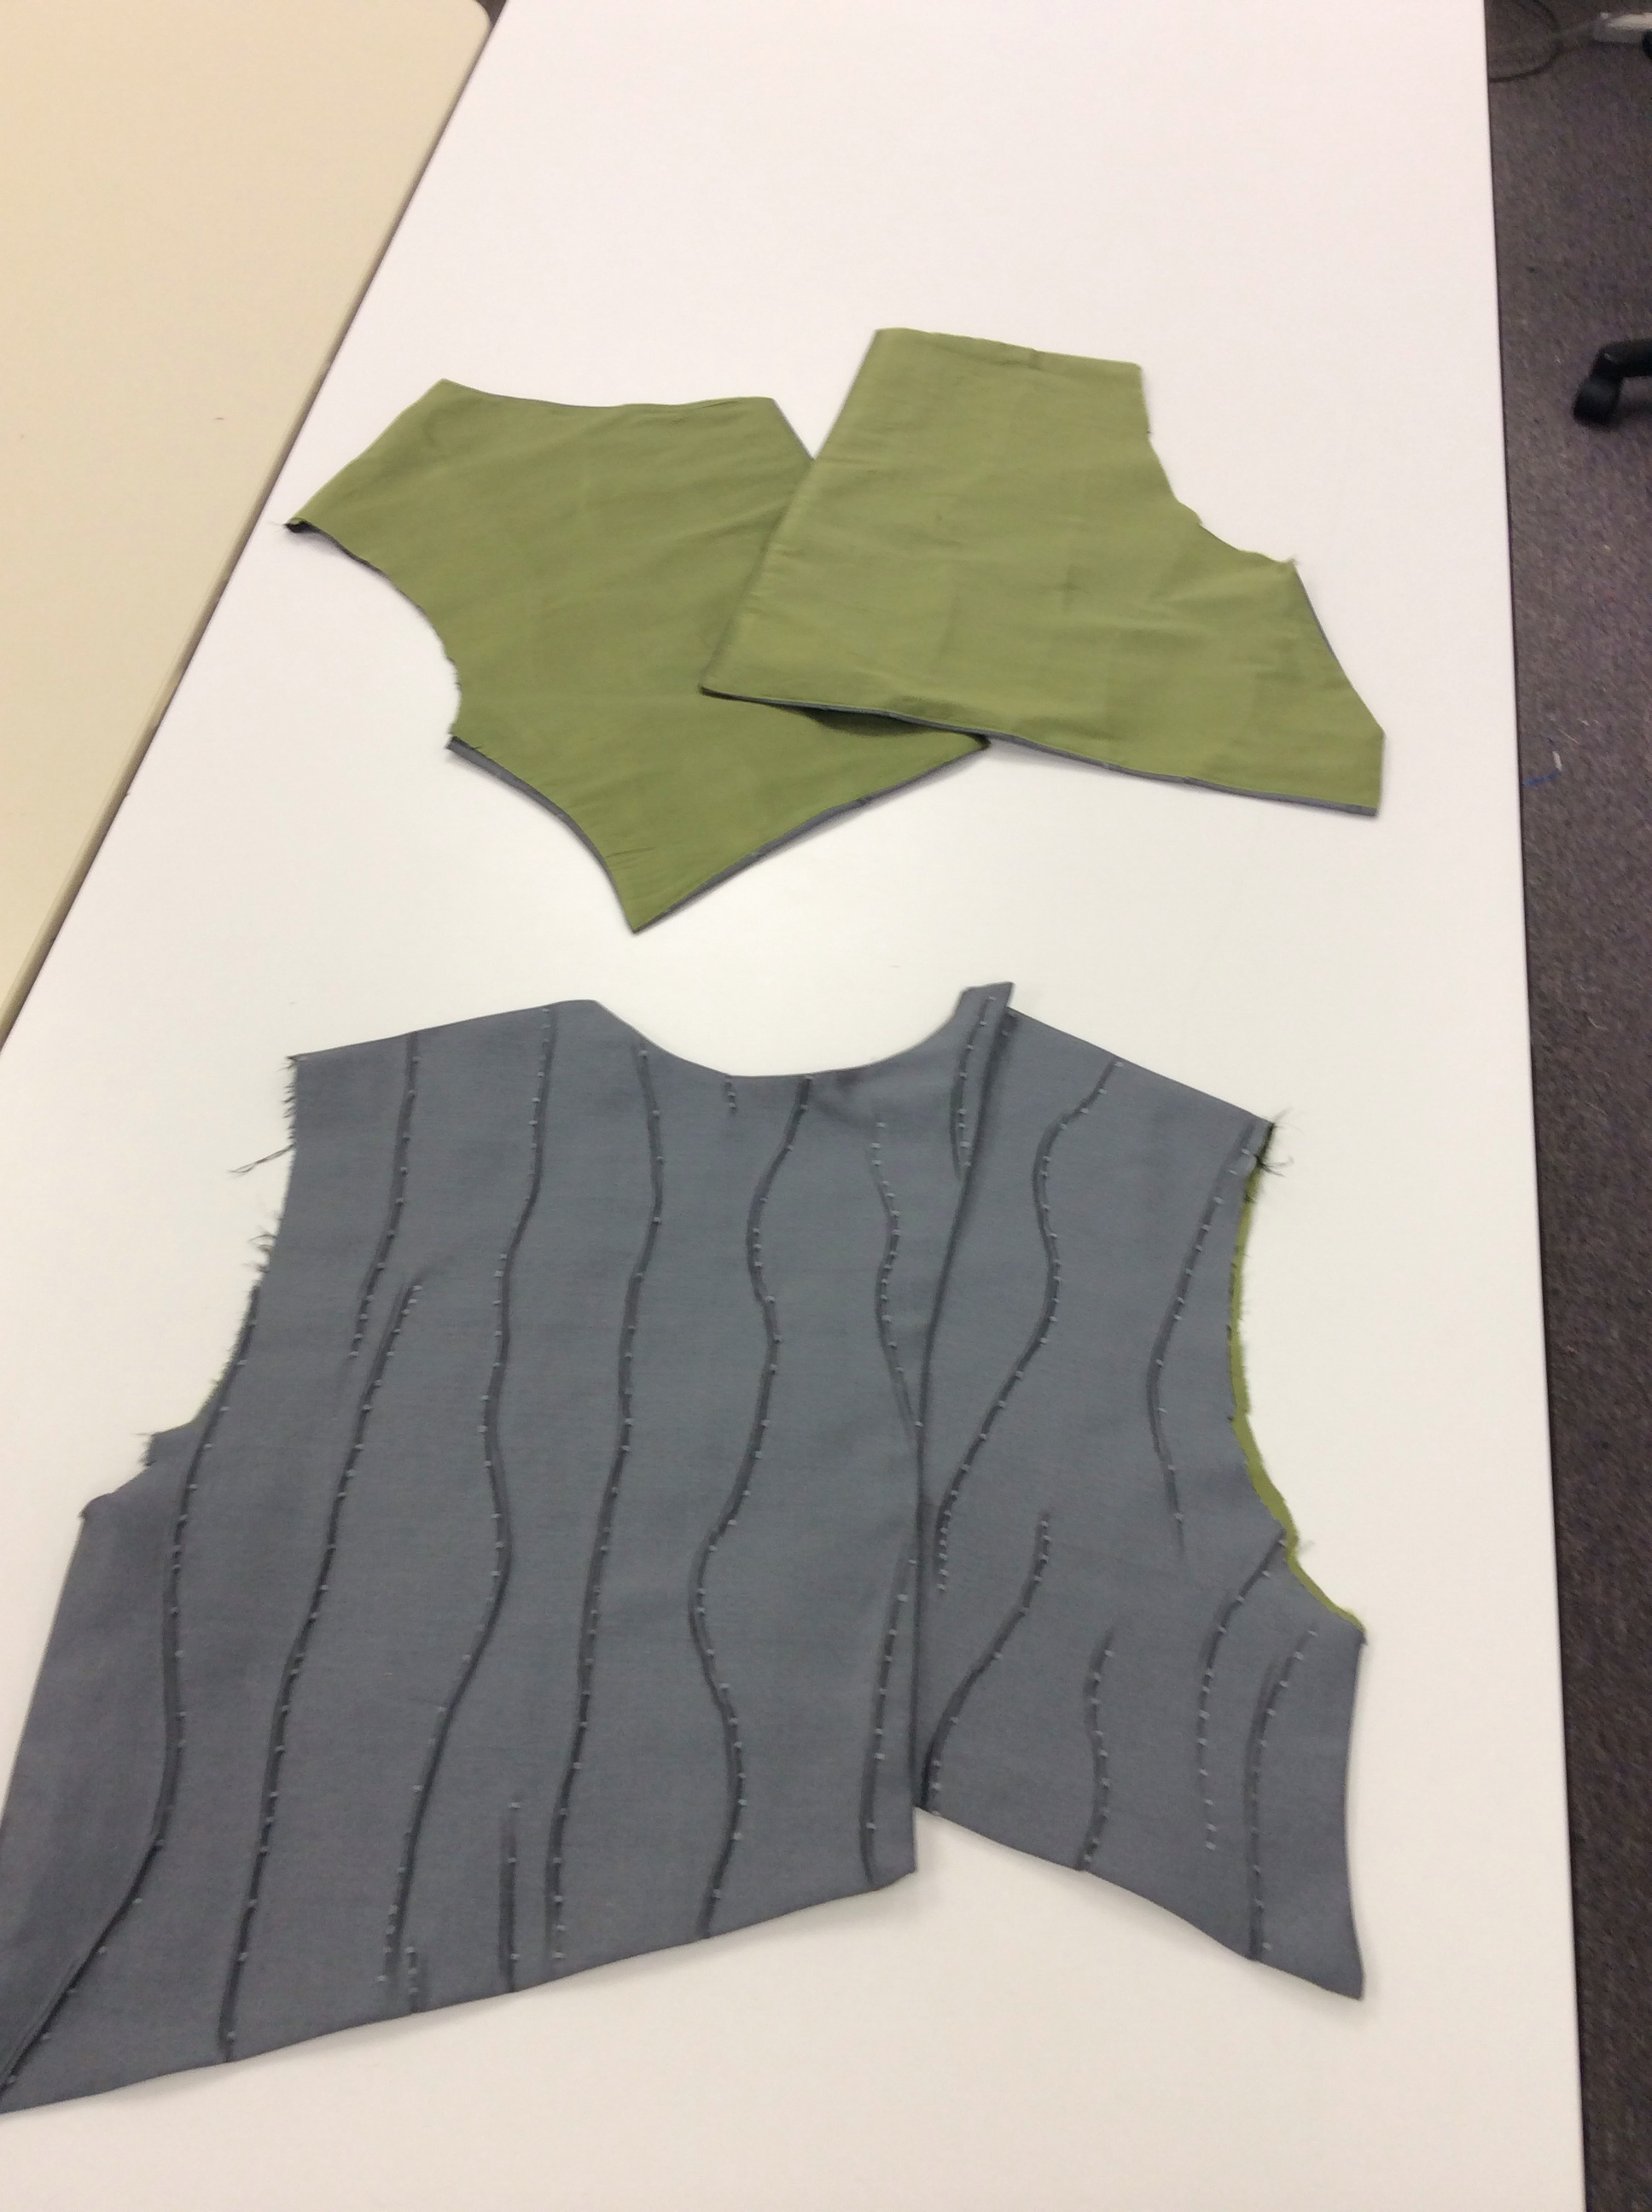
I have made lots of handbags over the years, and I find them a fun way to be creative when I don’t have a lot of time. I made some new ones recently and took a look at some older ones and here is a quick tutorial on the method I came up with to make them quick and easy. I found that if I completed each side of the bag, inside and out and then attach them it was easier to add pockets, handles etc.
I don’t use a pattern but decide what size I want and then cut a rectangular shape. I can then change the design if I want to but for this post I will keep this shape.
Like the large bag, if I want to use contrasting fabric I decide where and how much to use and this will determine the size I want.
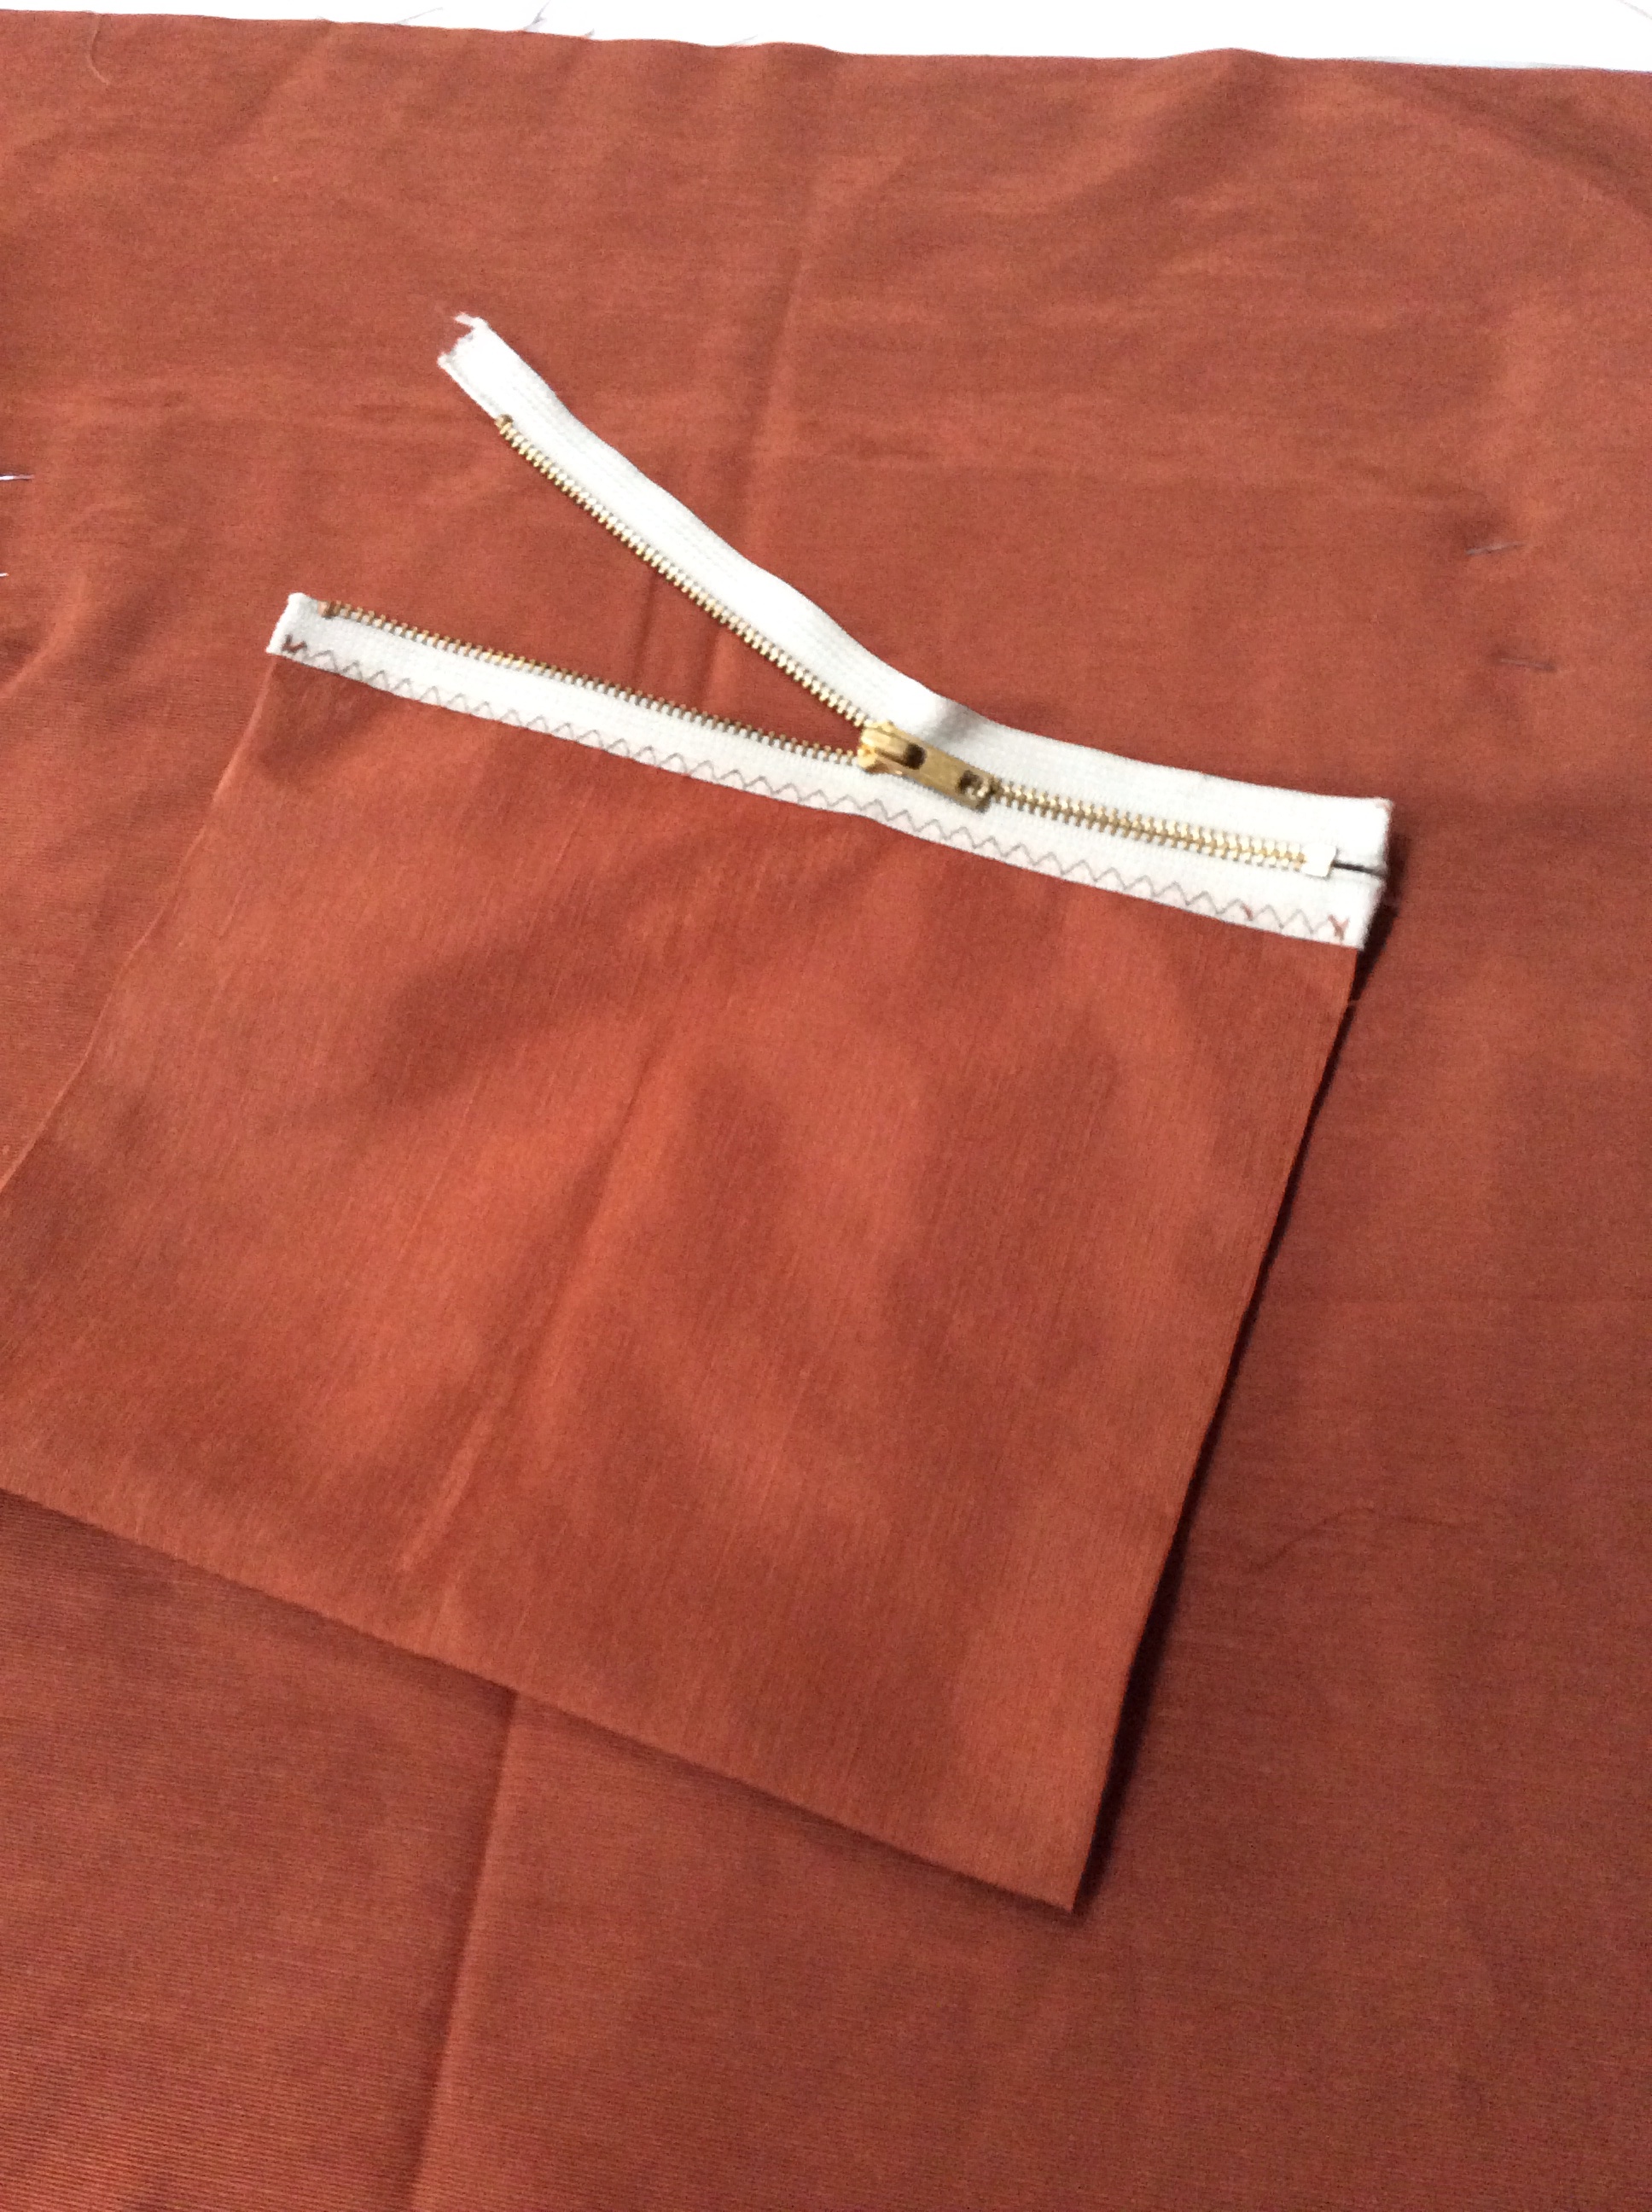
The lining is next. I cut that the same size as the main body of the bag and decide how many pockets I want. I always use a zippered one and make a large one that I can divide.

image
I finish three sides of the zippered one,and use the zipper to finish the top. It’s easy to attach it to the lining and as the fabric is double it makes for a strong pocket with no raw edges.
For the larger pocket on the other side of the bag I decide what size I want and cut lining double the finished width and the width of the bag. I fold it in half and sew the opposite long end and the short sides get included in the side seam at the end. I pin it to the lining a few ins. below the top and divide it however I want.

image
image

Adding Stability.
I use different products to add stability when needed. I use Peltex a lot, and any heavy sewin interfacing. I also use curtain lining as I always have that on hand. Canvas or other heavy cottons work really well too. I play around with whatever gives the support that I want.
I always add extra stability to the back of the pockets so I always keep my scraps for this purpose.
image

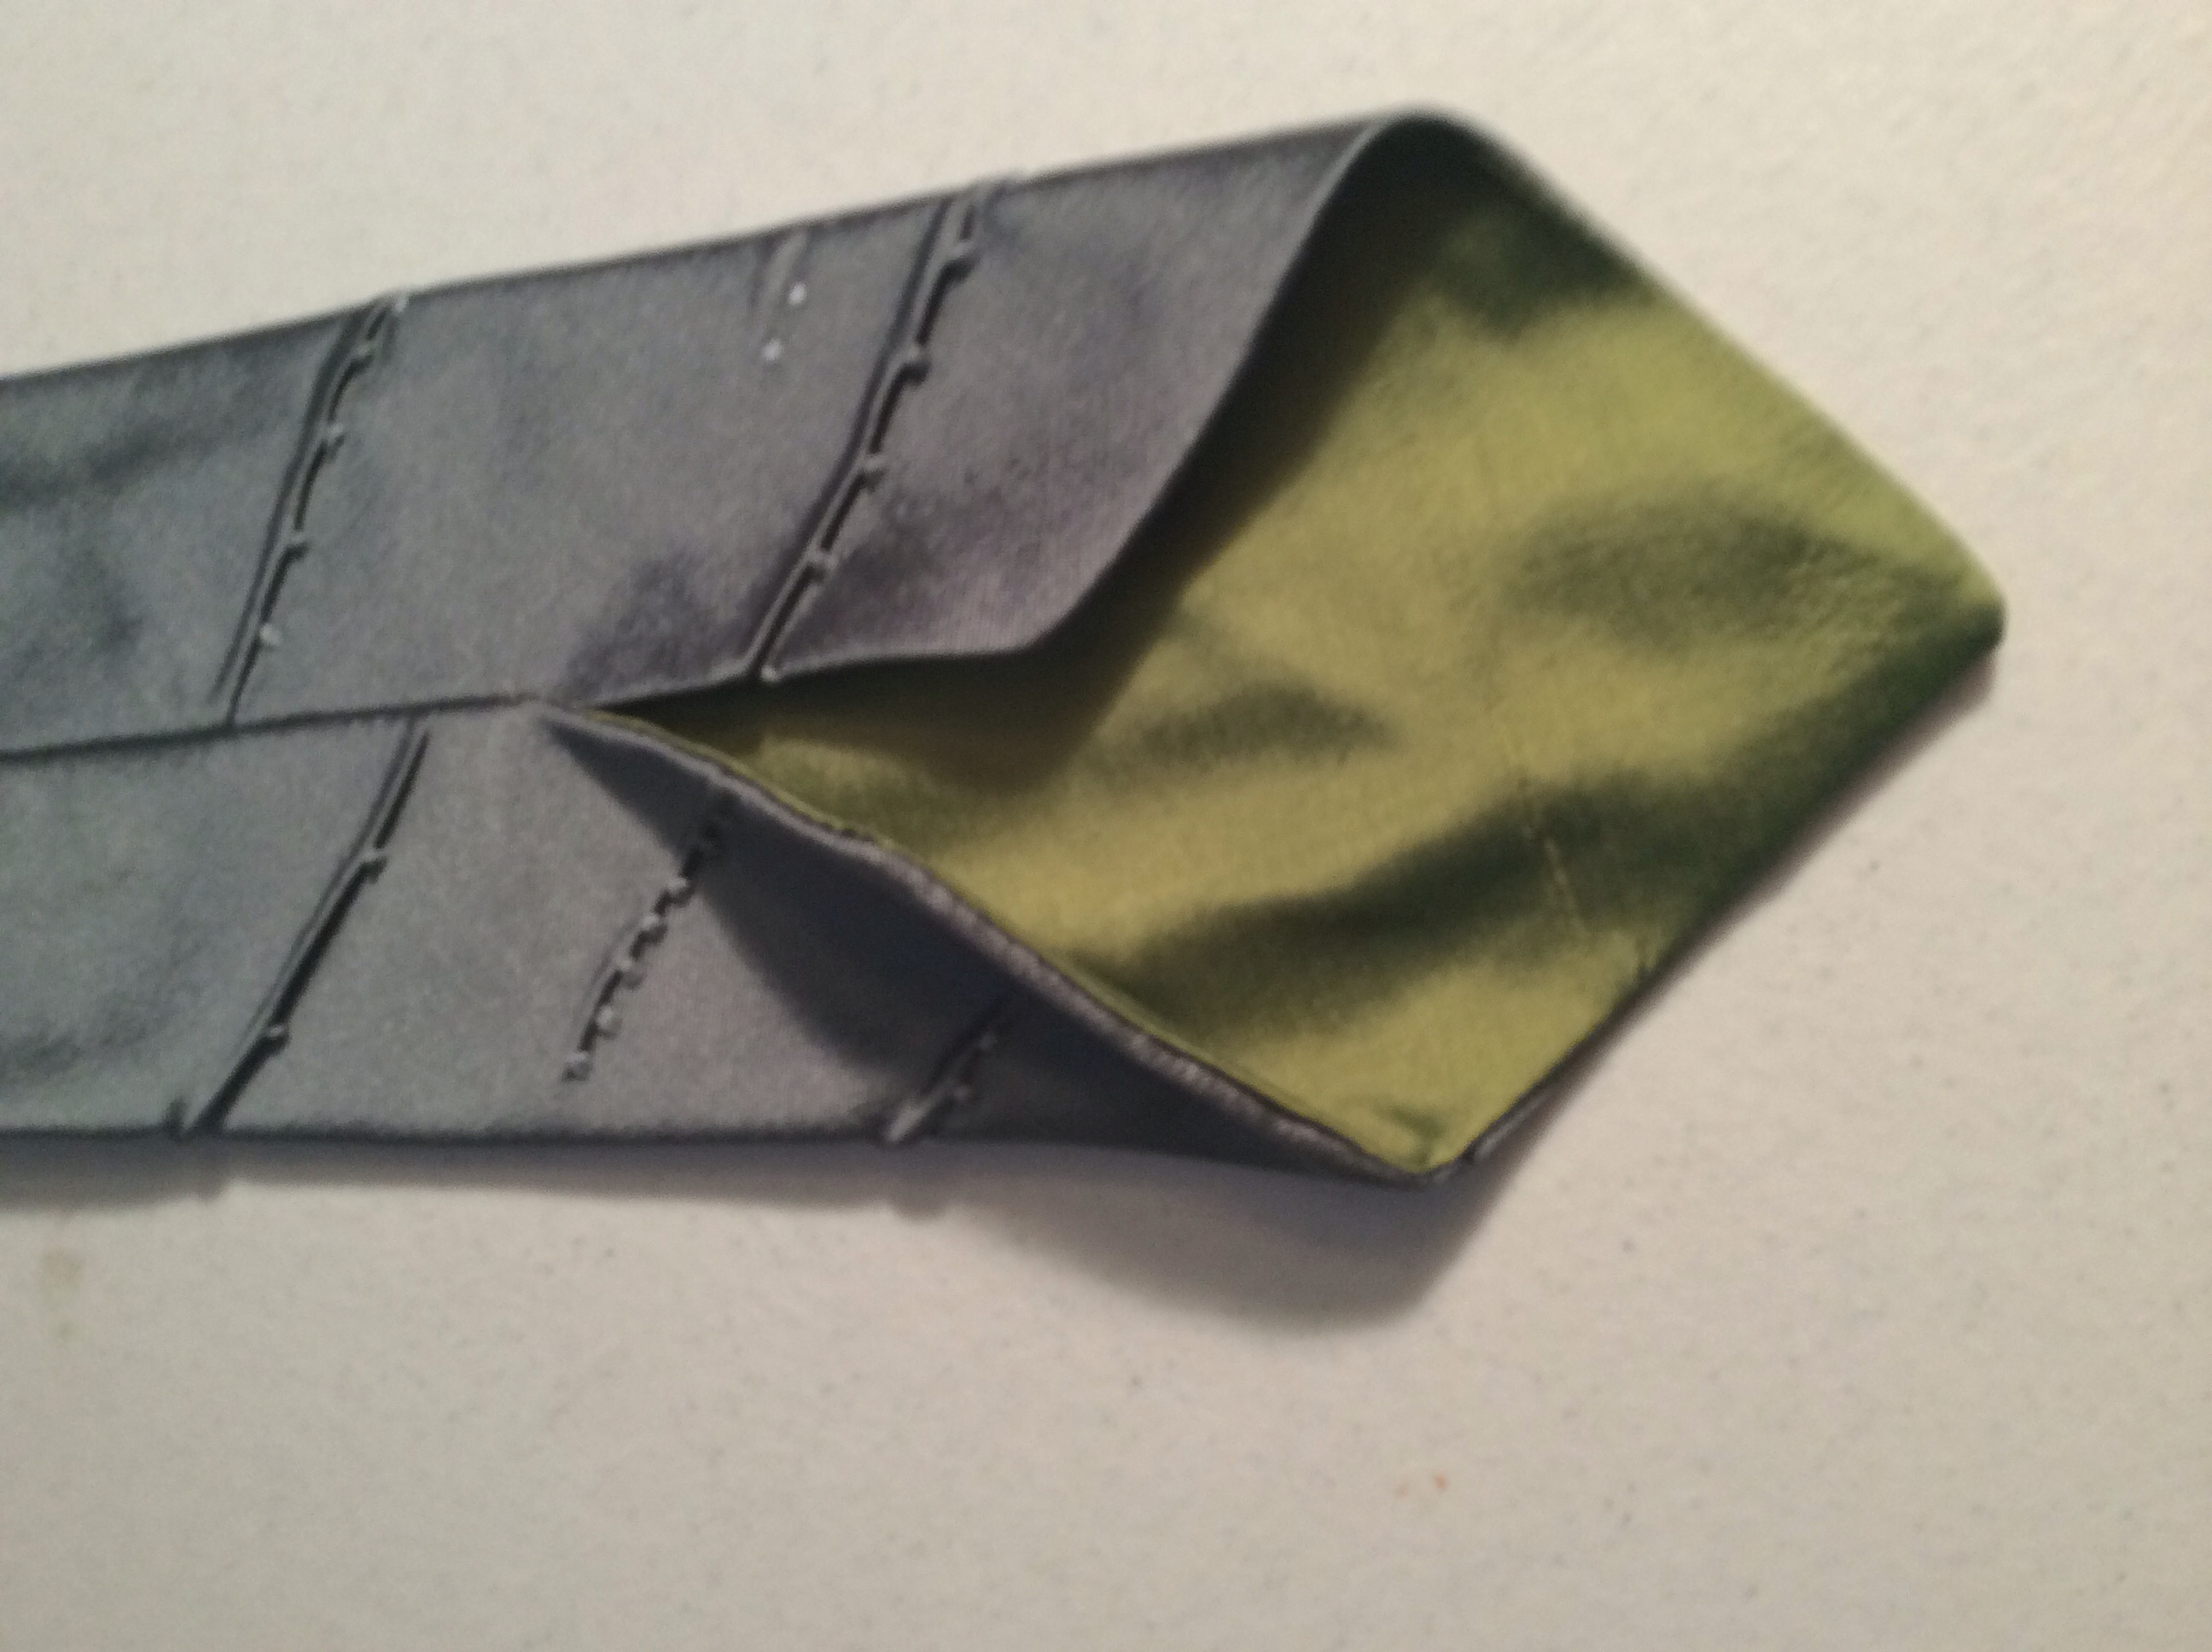
The next step is to attach whatever handles I am using and sandwich them between the lining and fabric. I find it really helpful to understitch the lining and this also helps to keep the handles in place. At this point you can add other pockets, maybe one for your cellphone and I also line to add a hook for my keys. Their is a lot of hardware available on the internet and you can make them as fancy as you like. At this point both sides of the bag are ready to be sewn together.
image

To finish the bag I open out the fabric and lining, put right sides together, and sew one continuous seam starting at the fabric end. Then I sew across the bottom of the main fabric and leave an opening in the lining to turn the bag right side out.
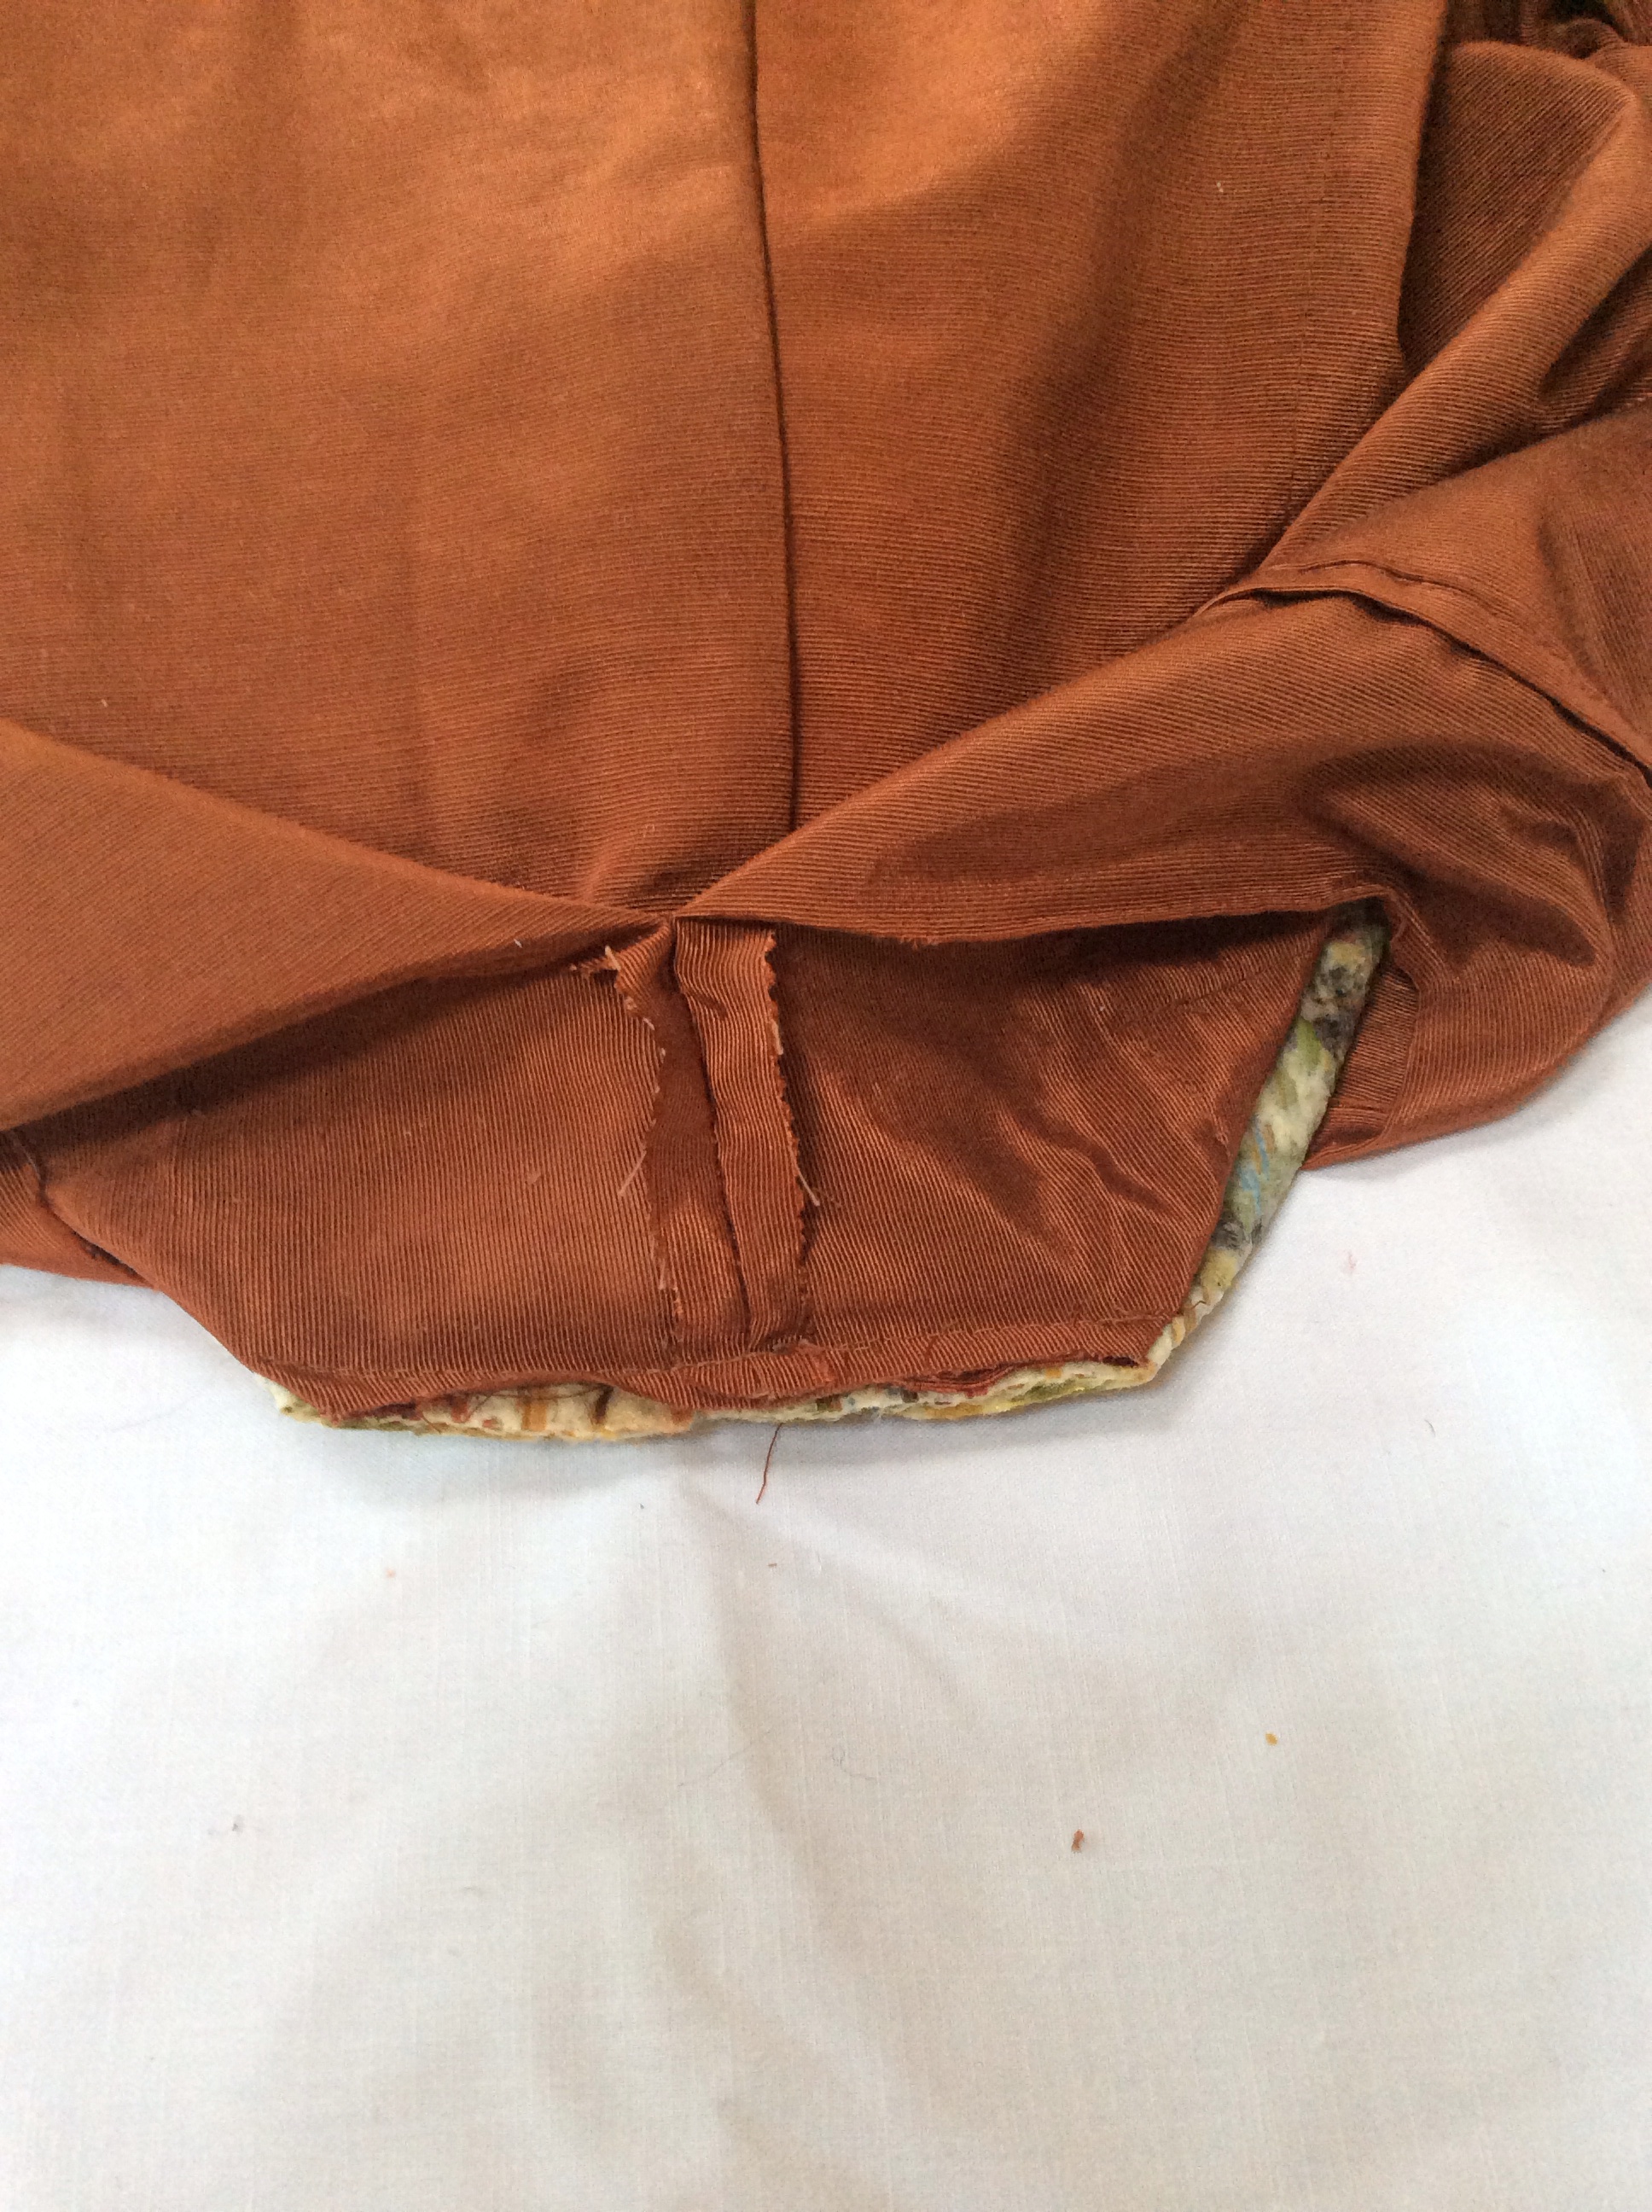
At this point I decide how wide I want the bottom of the bag to be and make a seam across the corner like this!
image

I do the same with the lining and before I close it I reach inside and sew these two short seams together and this prevents the lining from moving.
image

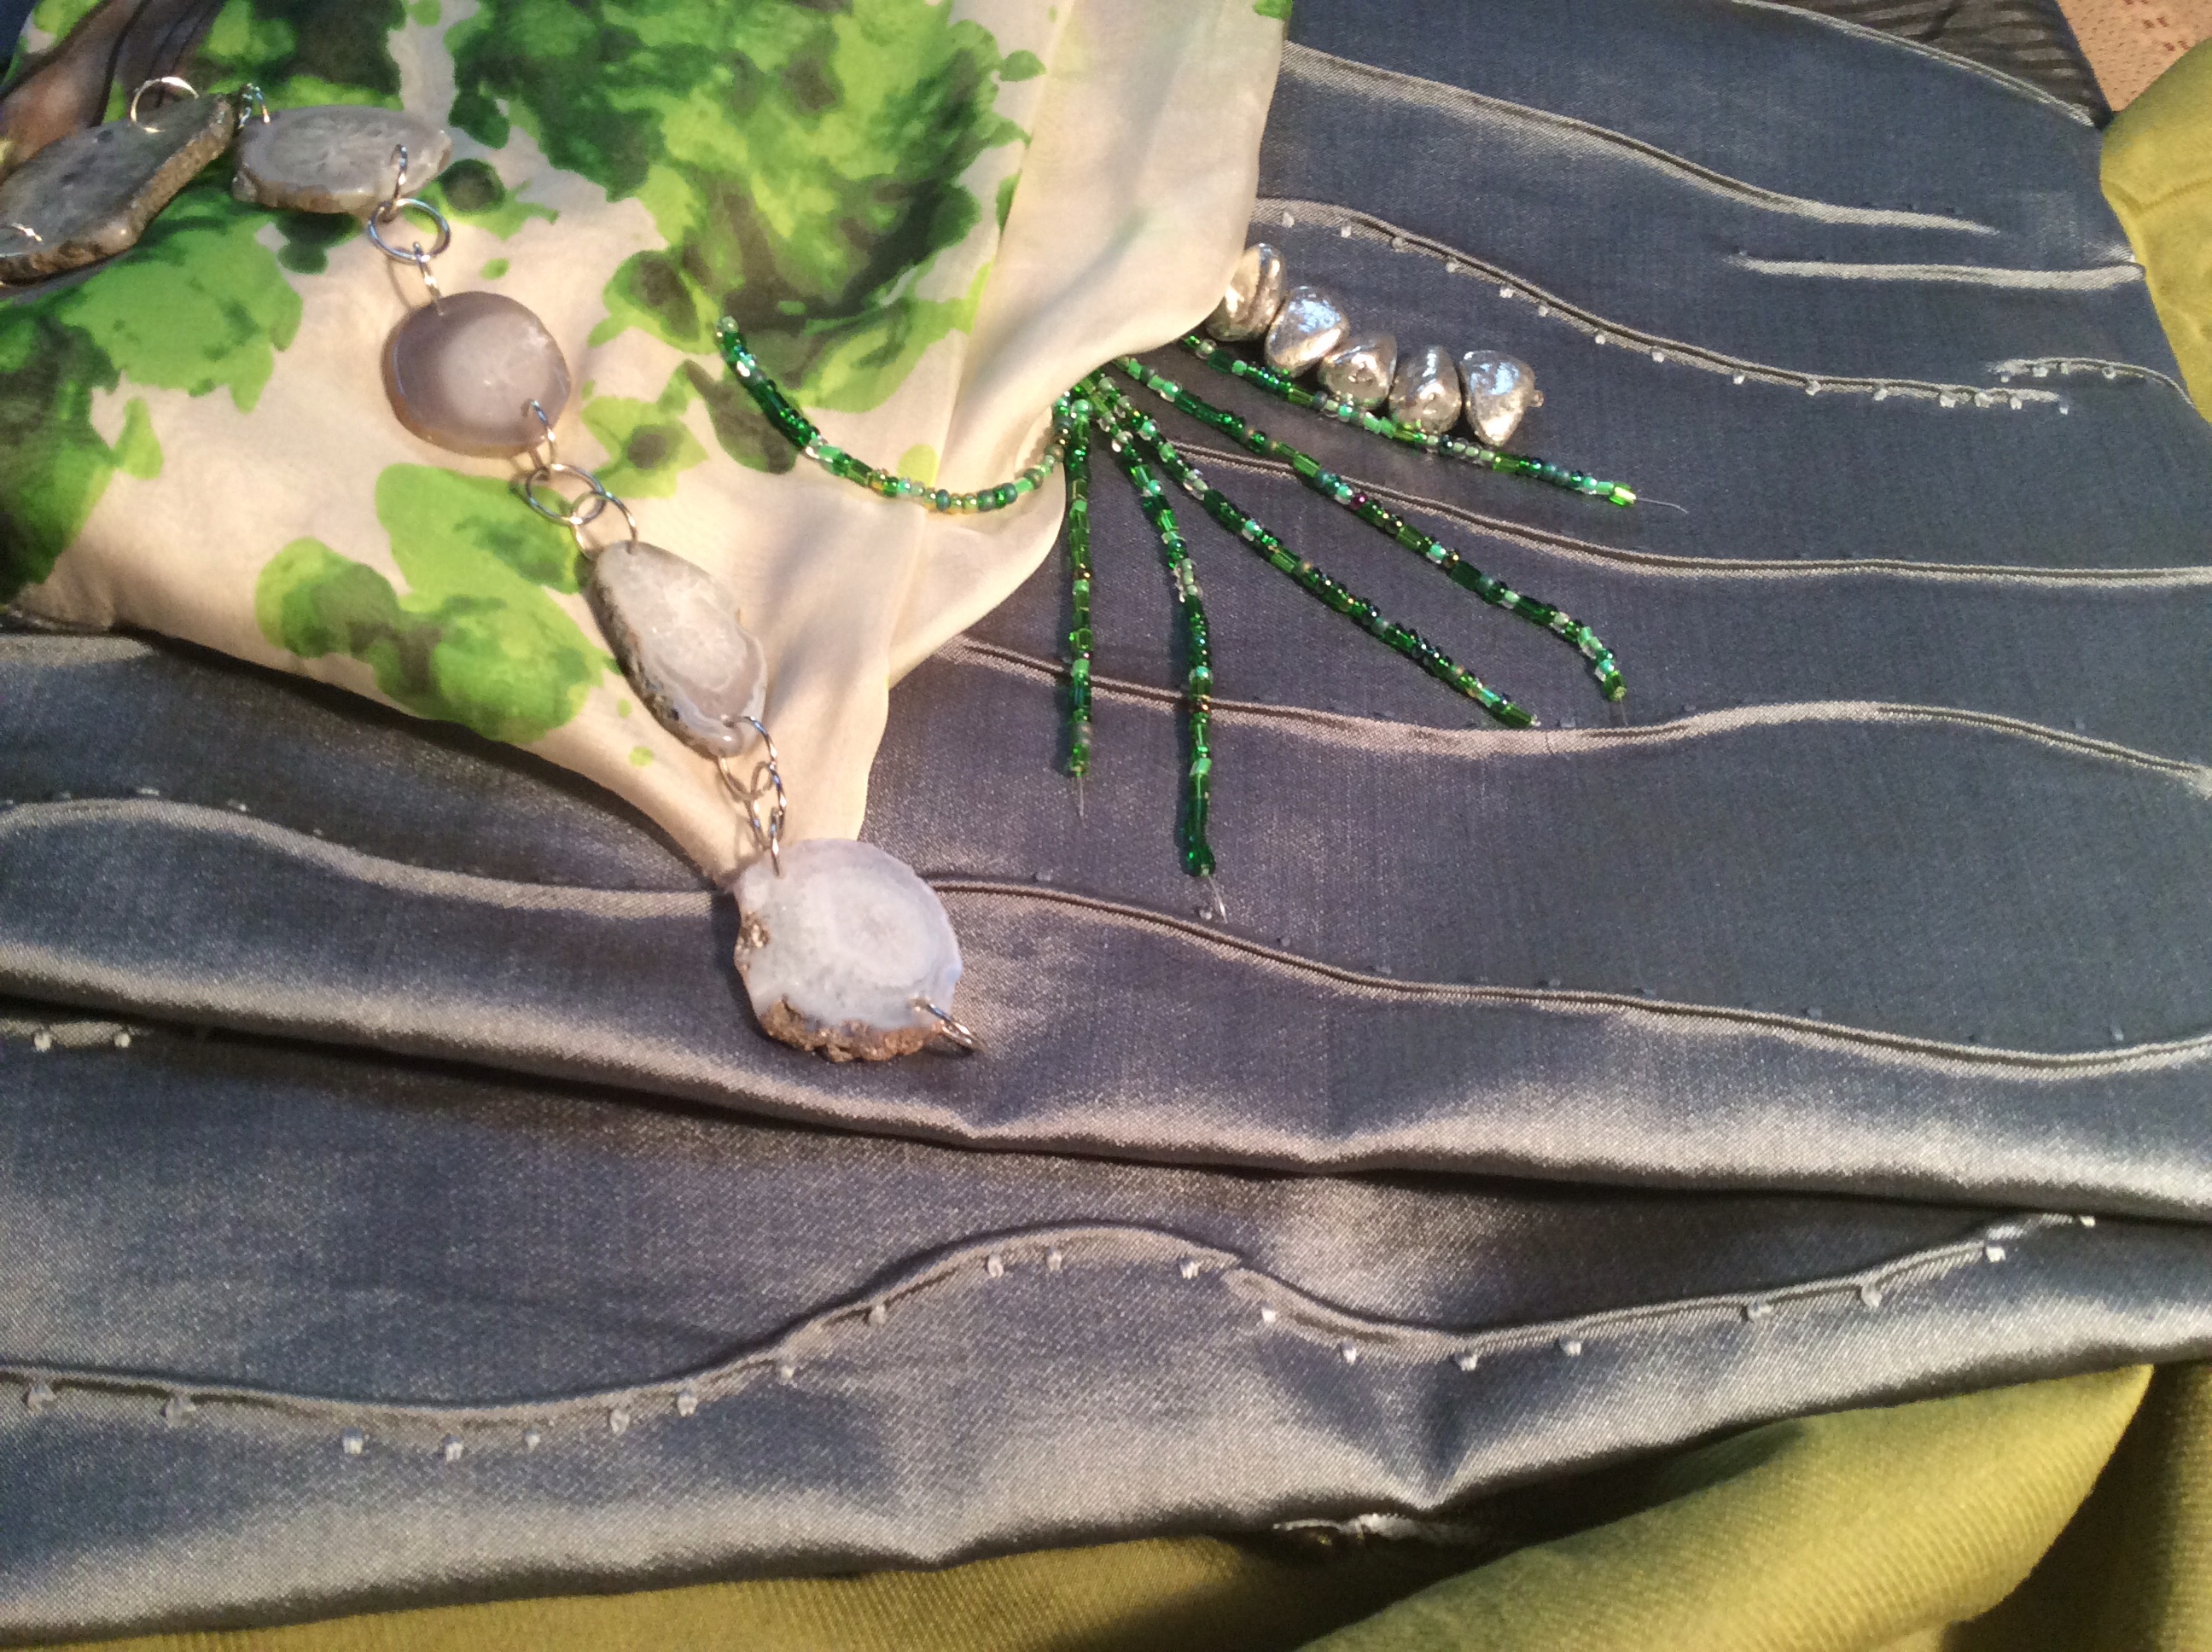
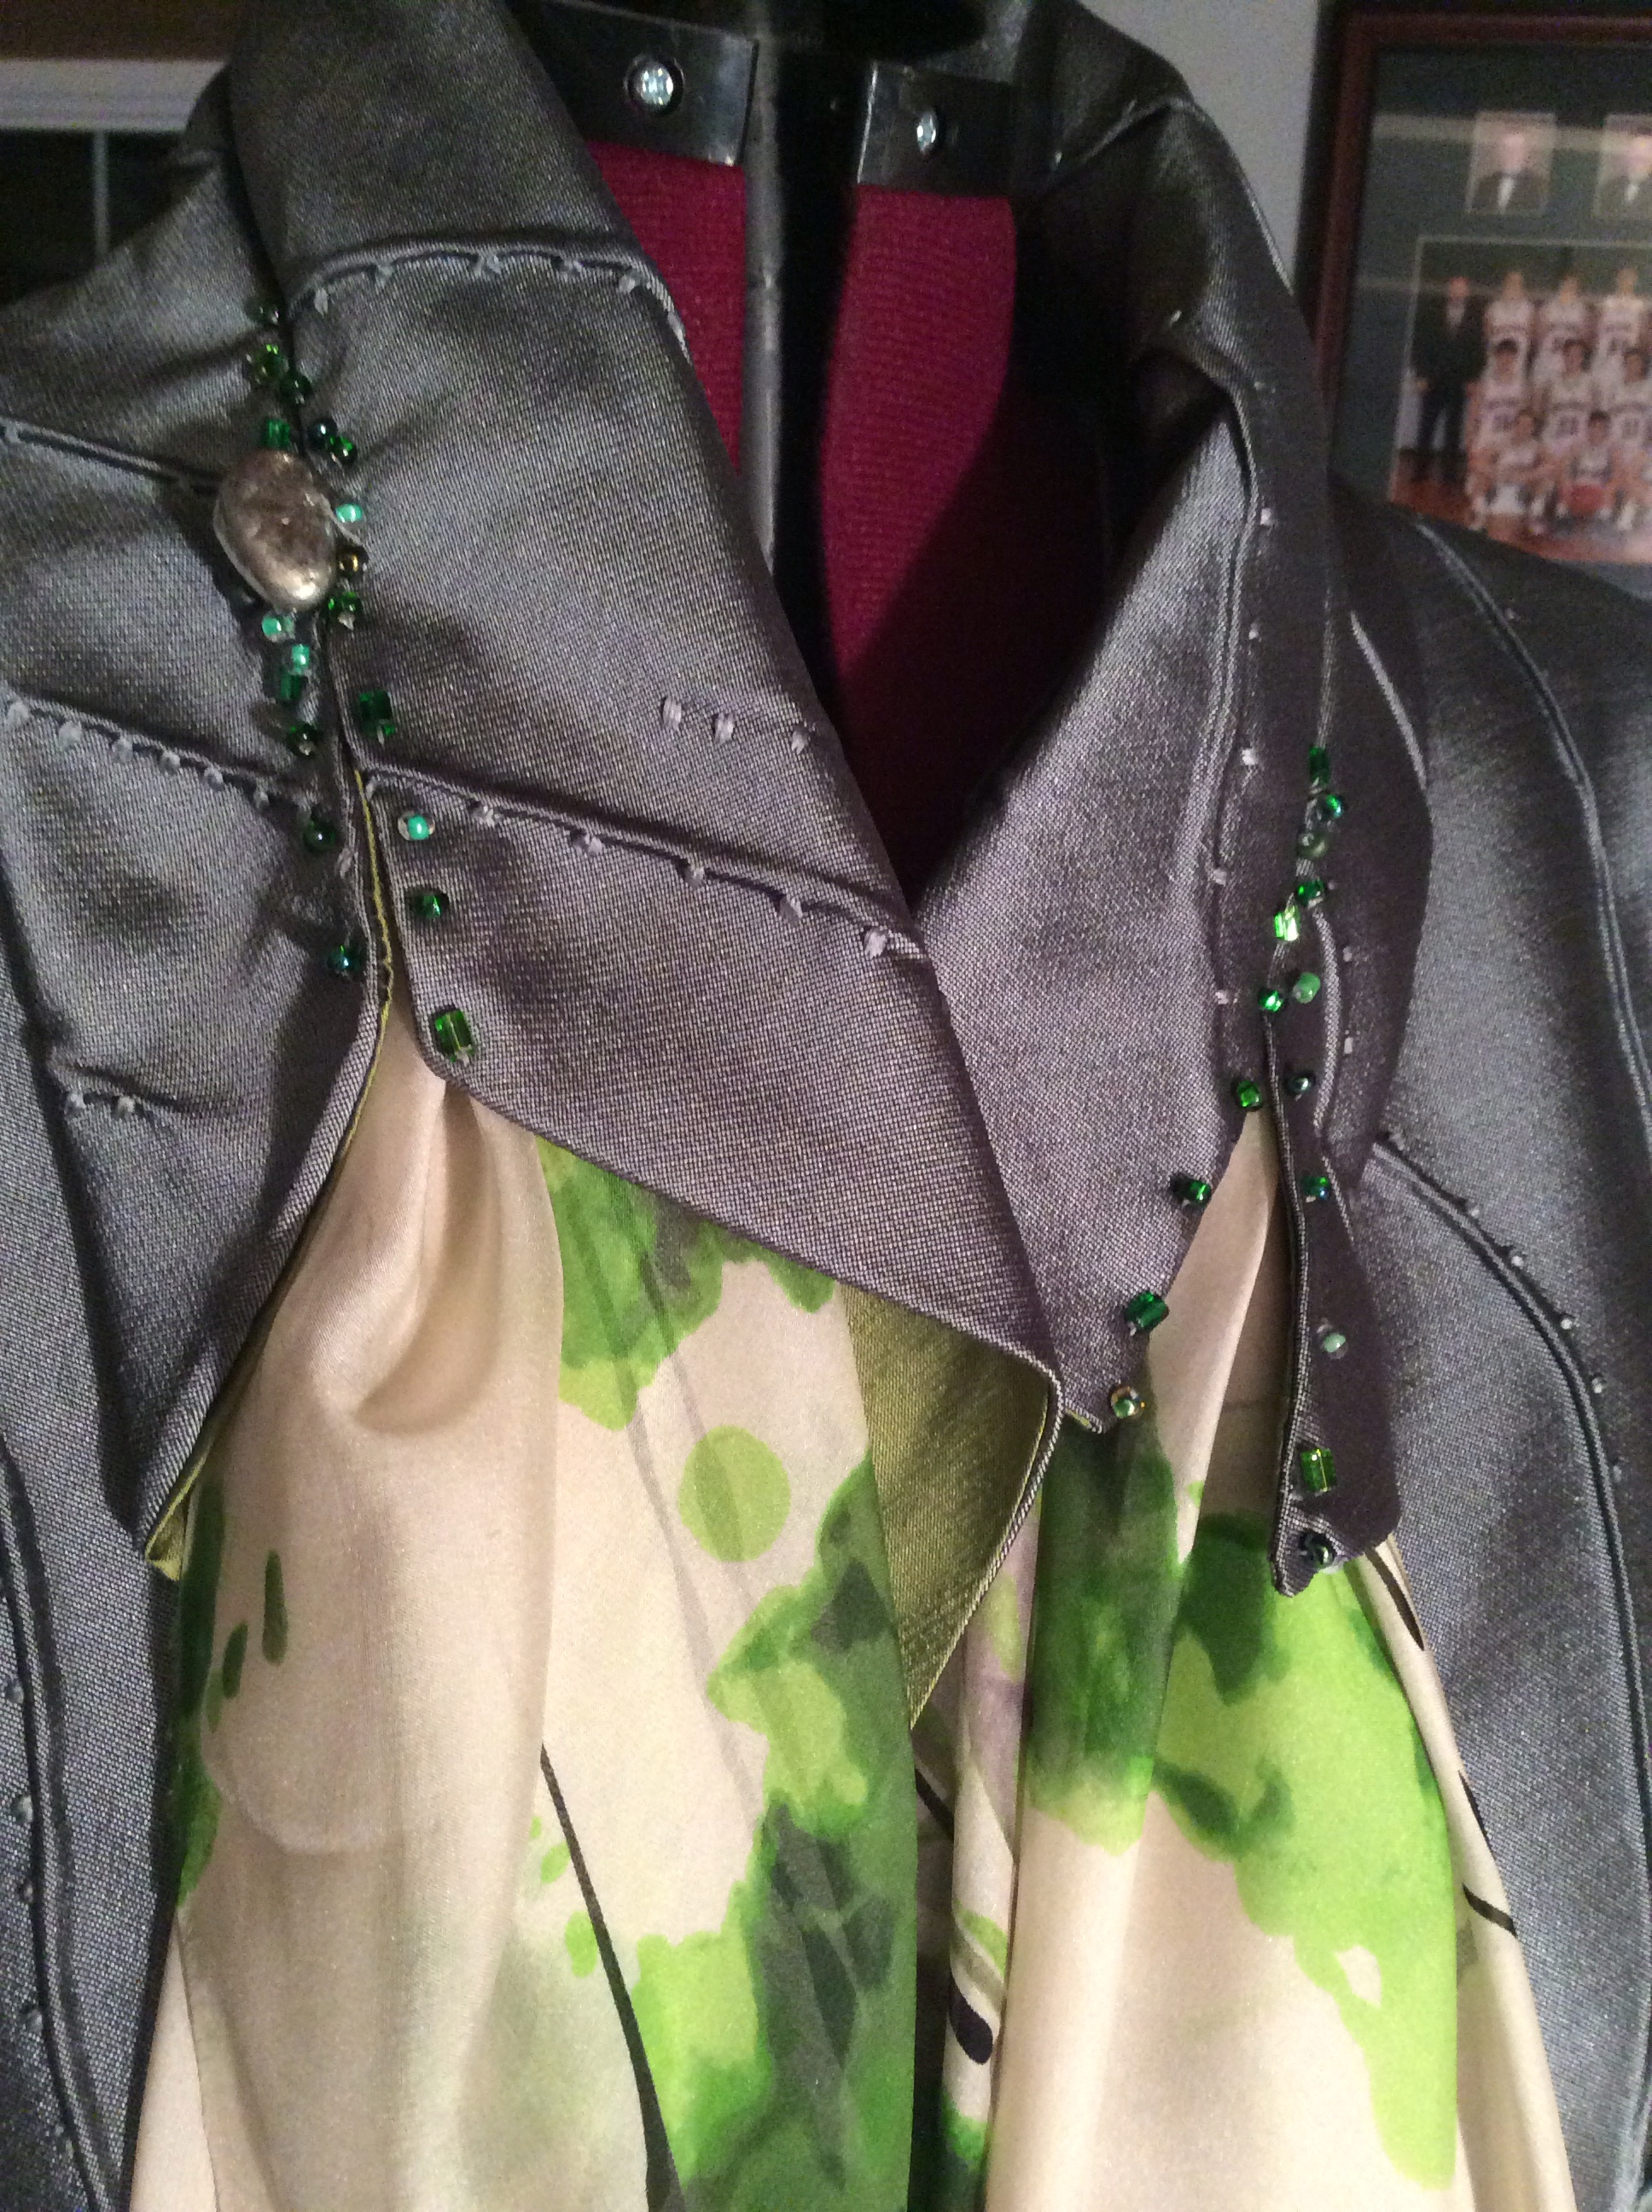
To finish off this bag I added the beading at the end. If you want to add ribbon, braid, or any detail you can do it while the sides are not joined. It would be easier as you are working on a flat surface.
image

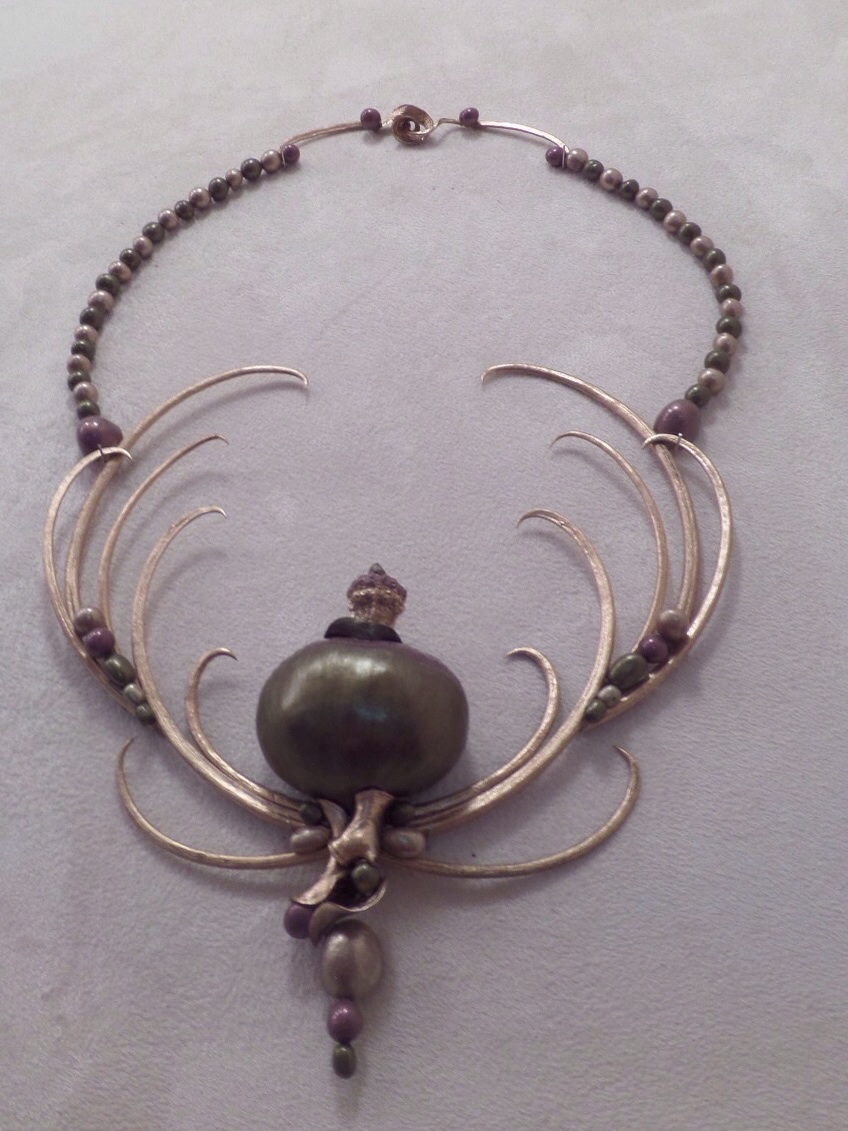
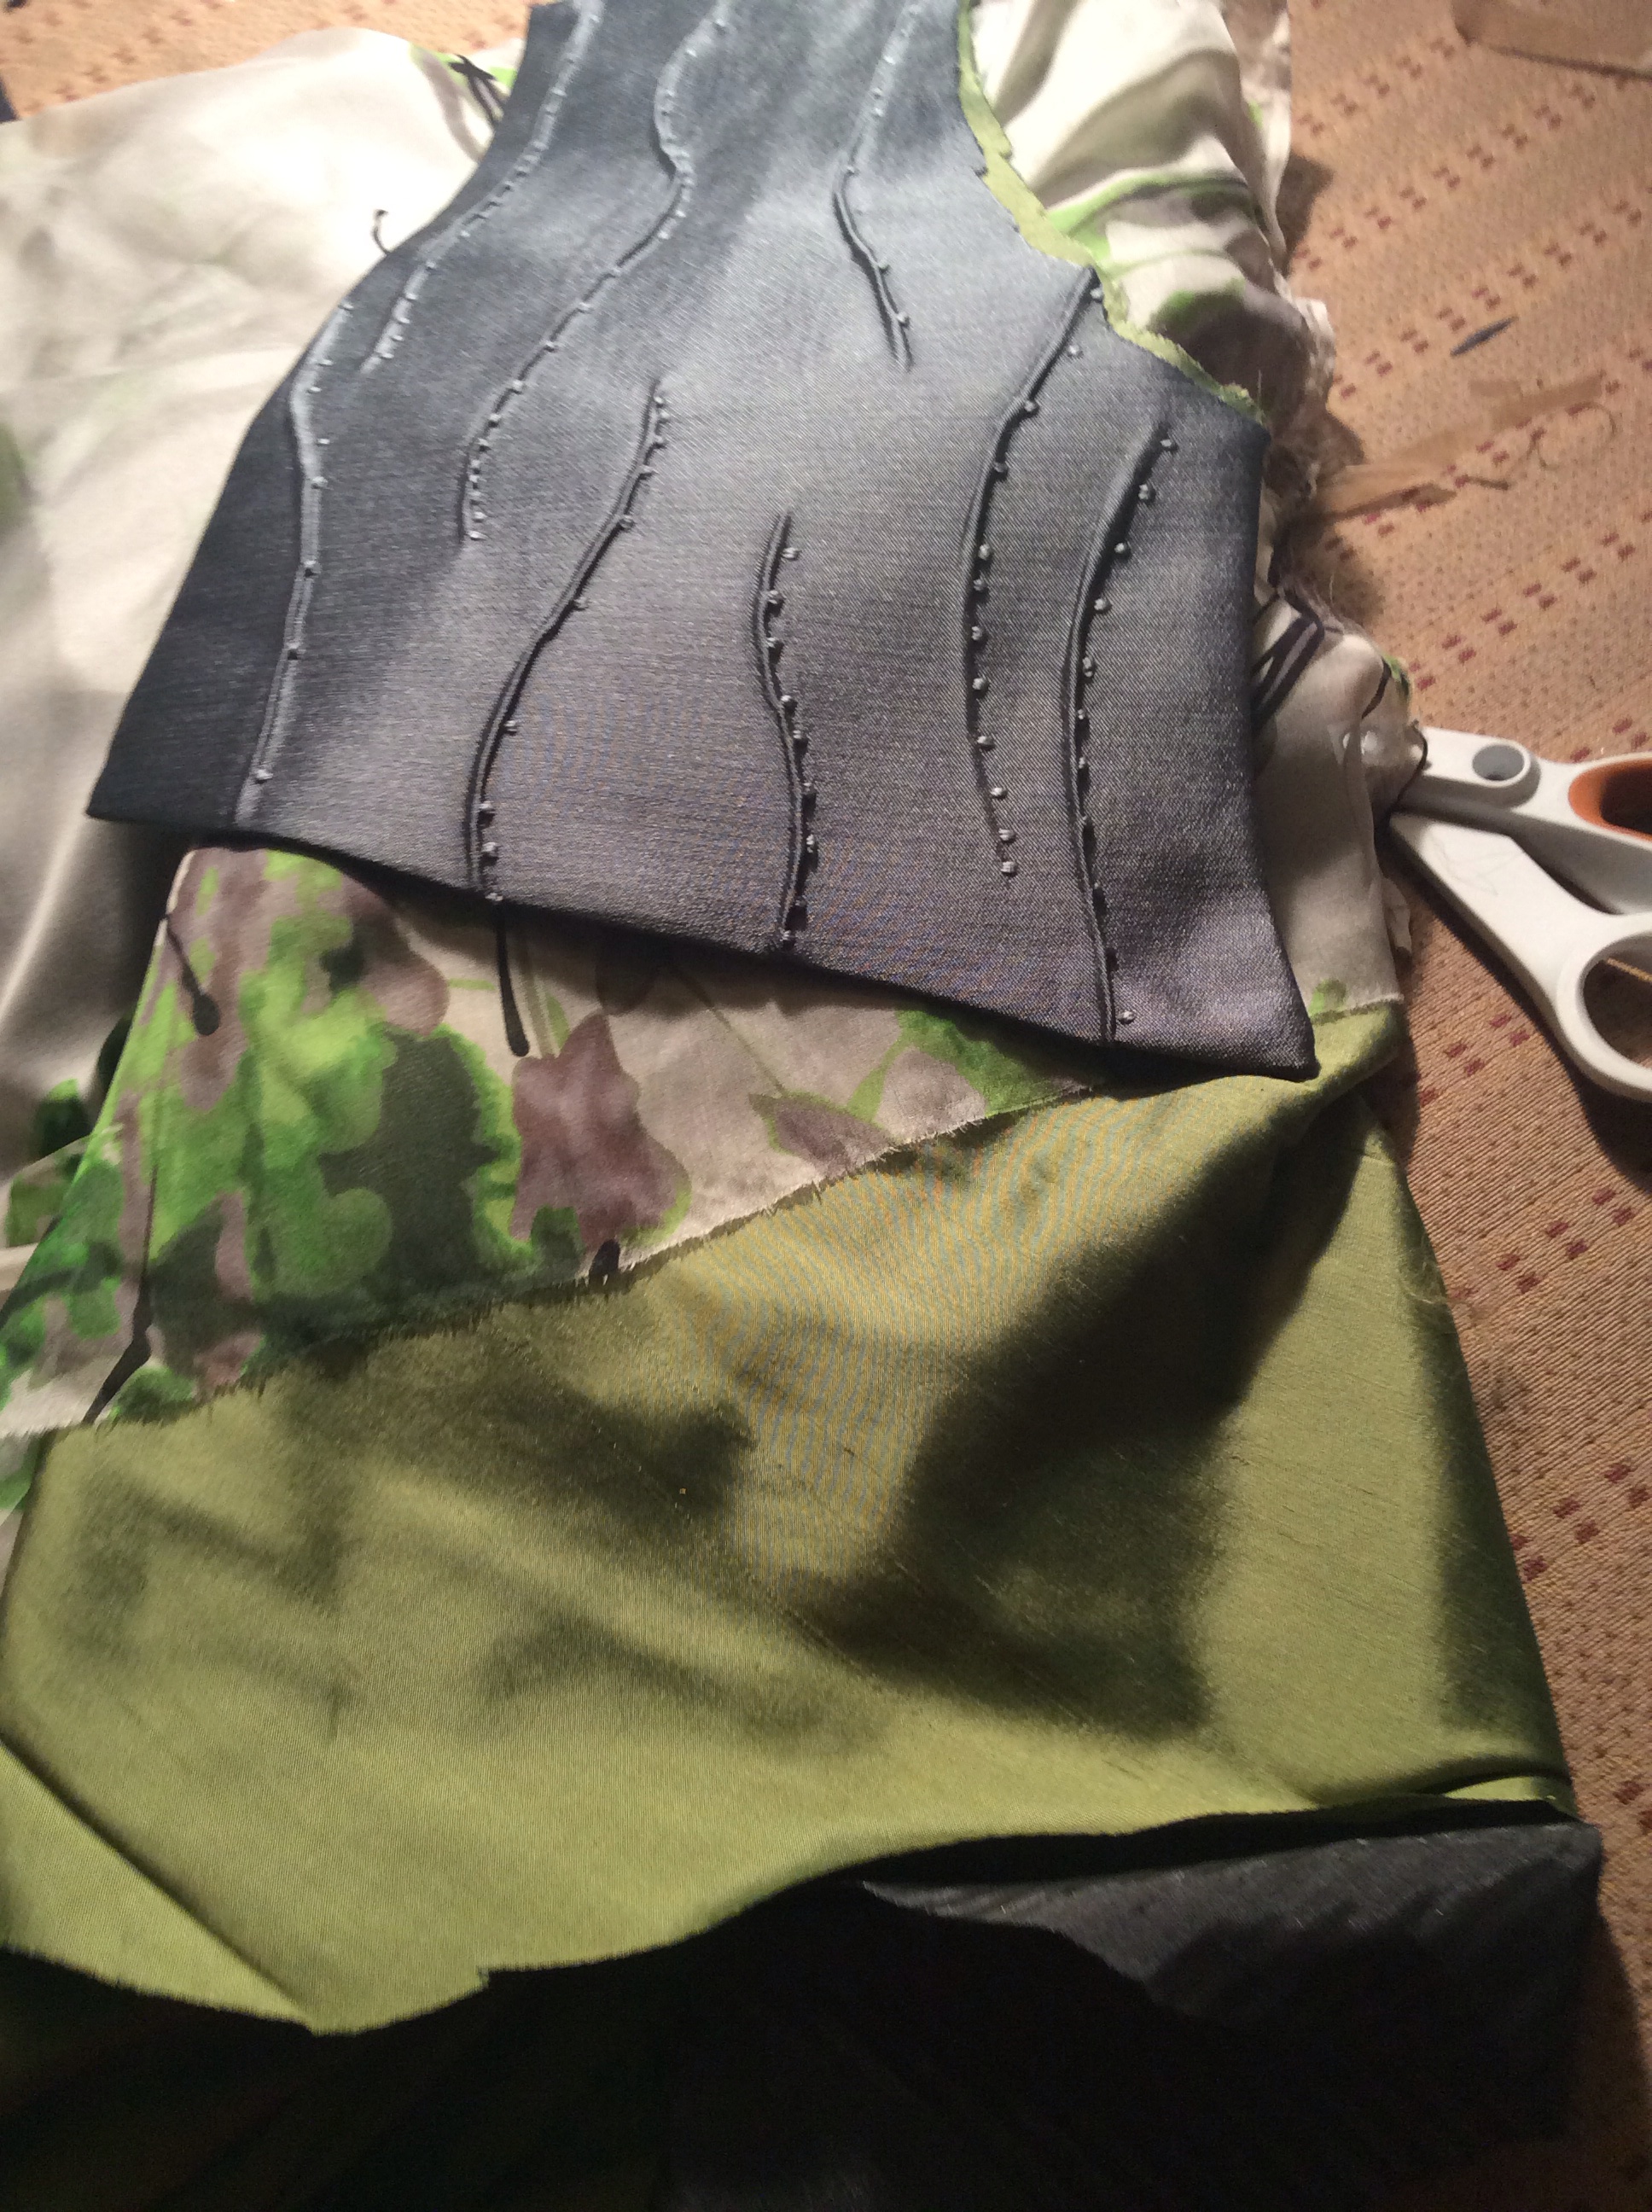
On the medium bag I started out with an old piece of jewelry and quilting fabric. I auditioned small pieces of textiles until I liked how it looked. This us a fun way to use all those treasures that we all collect.

image

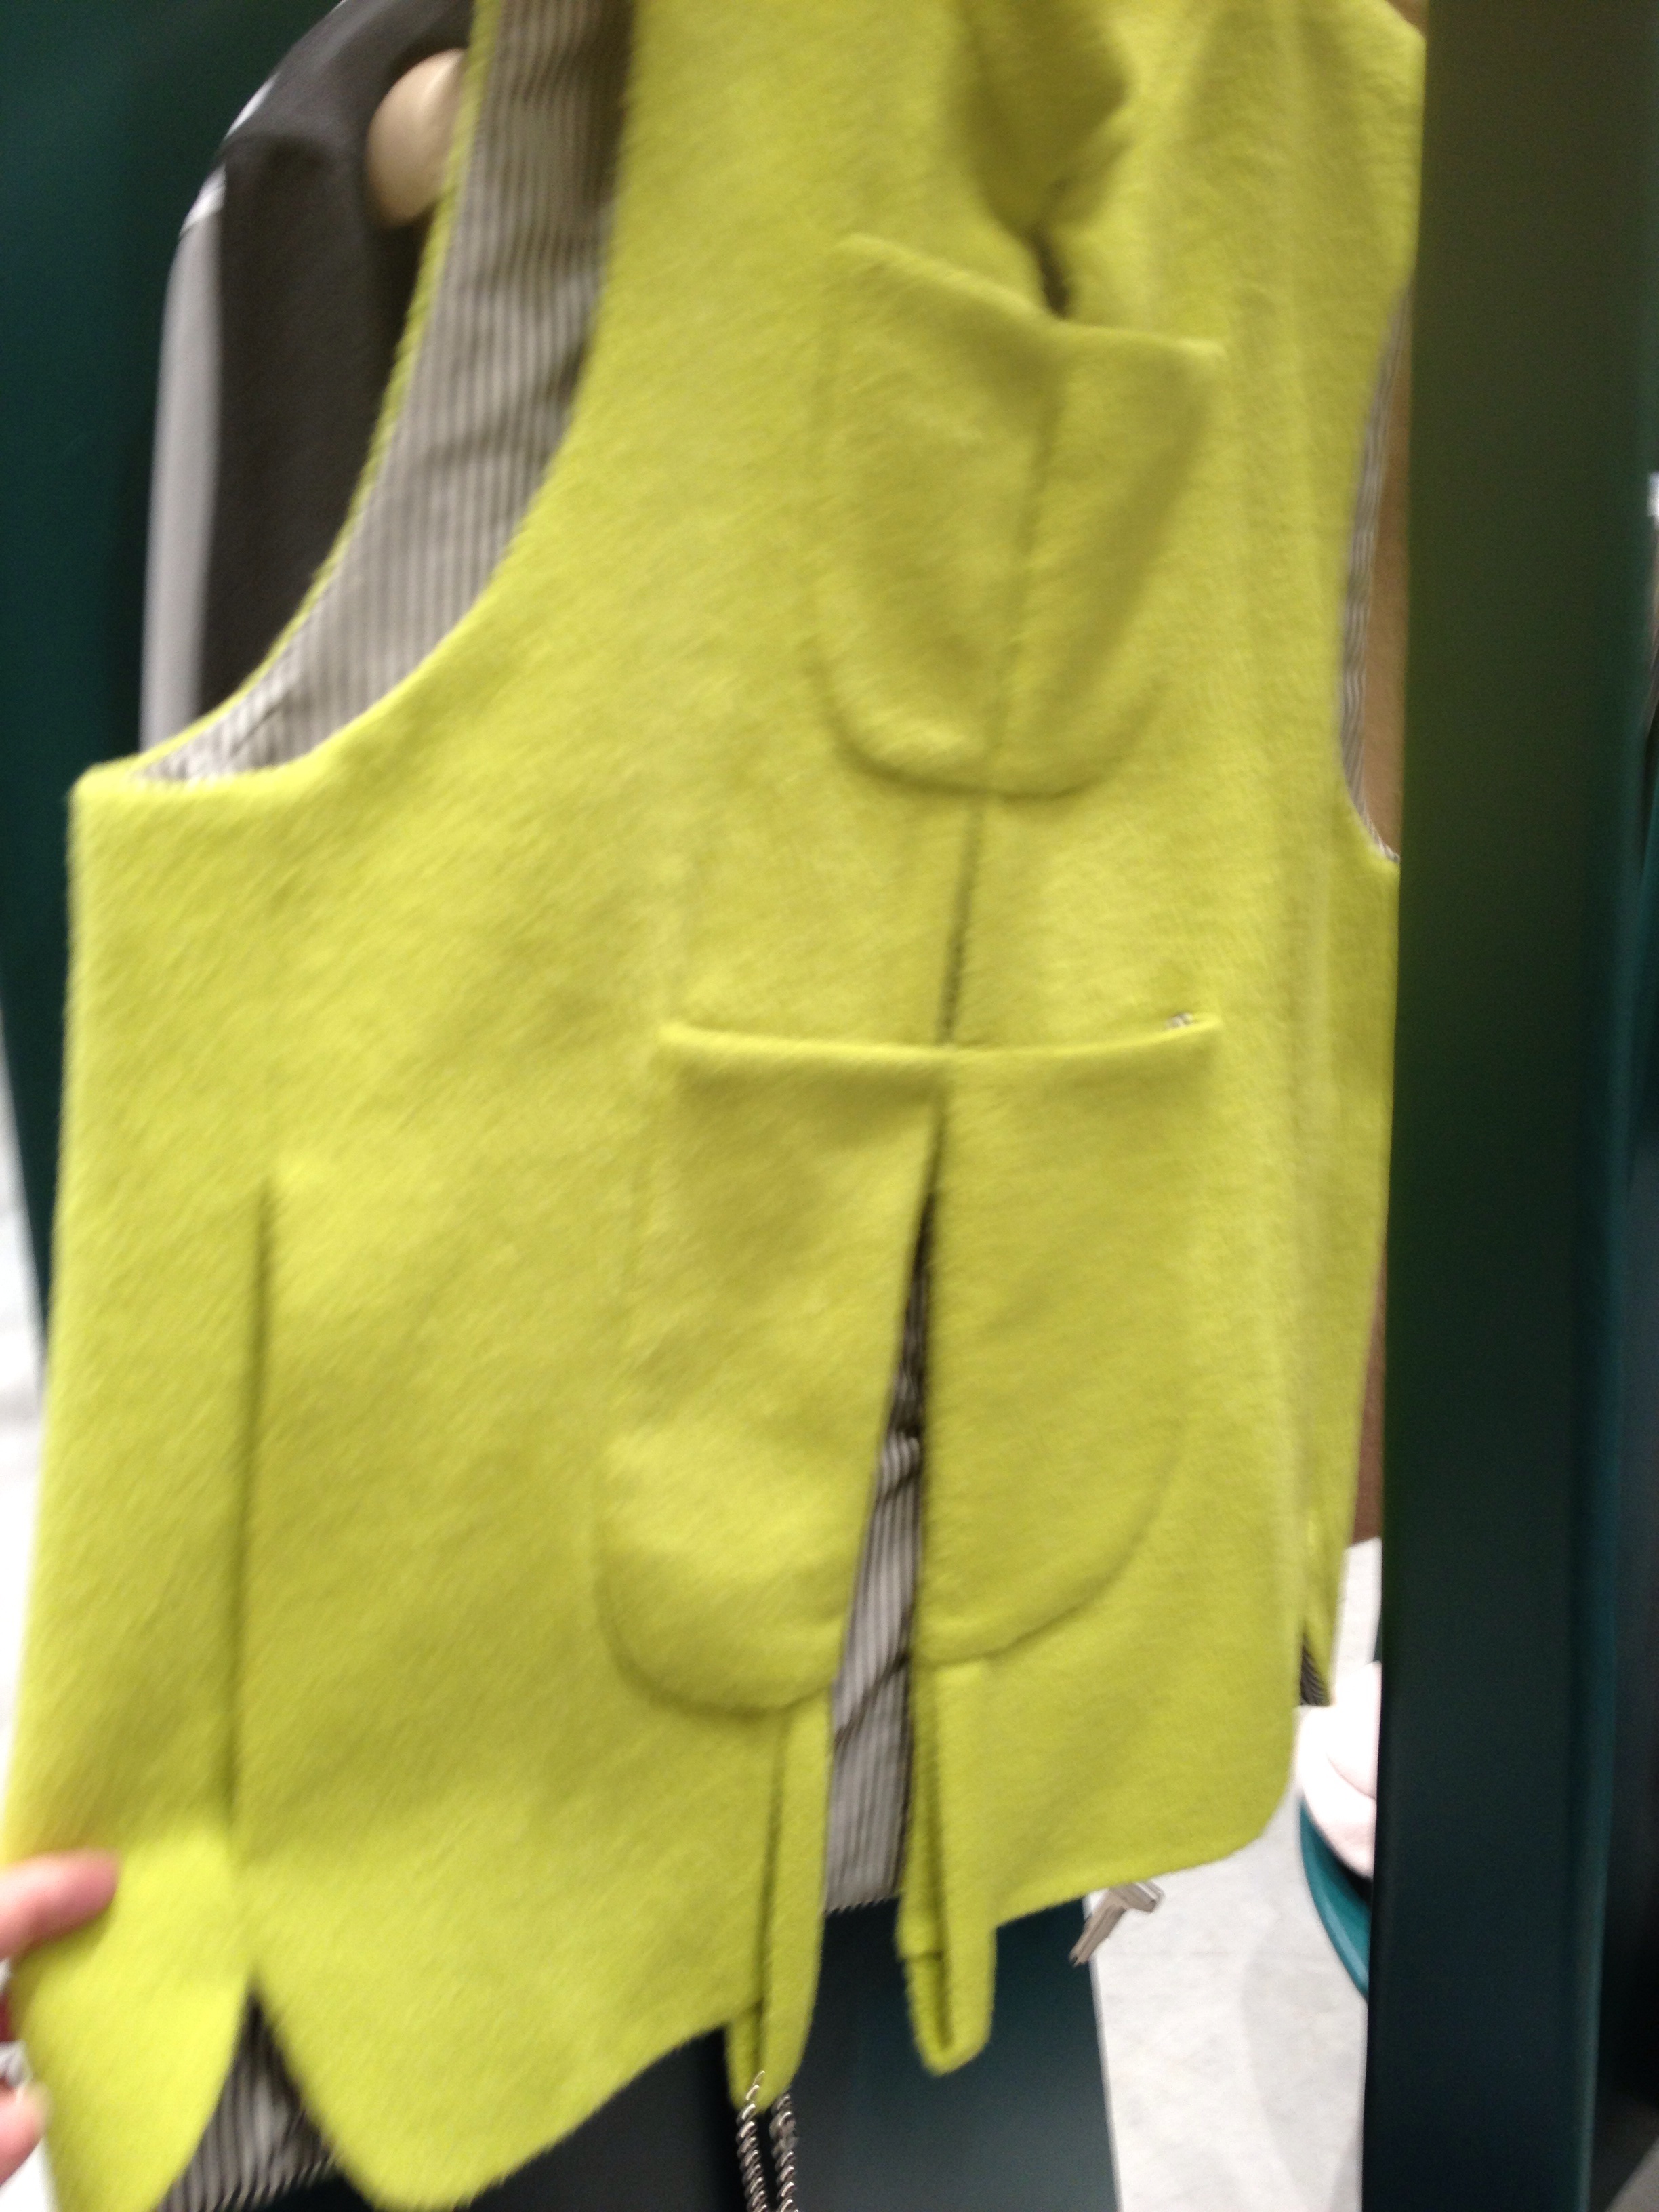
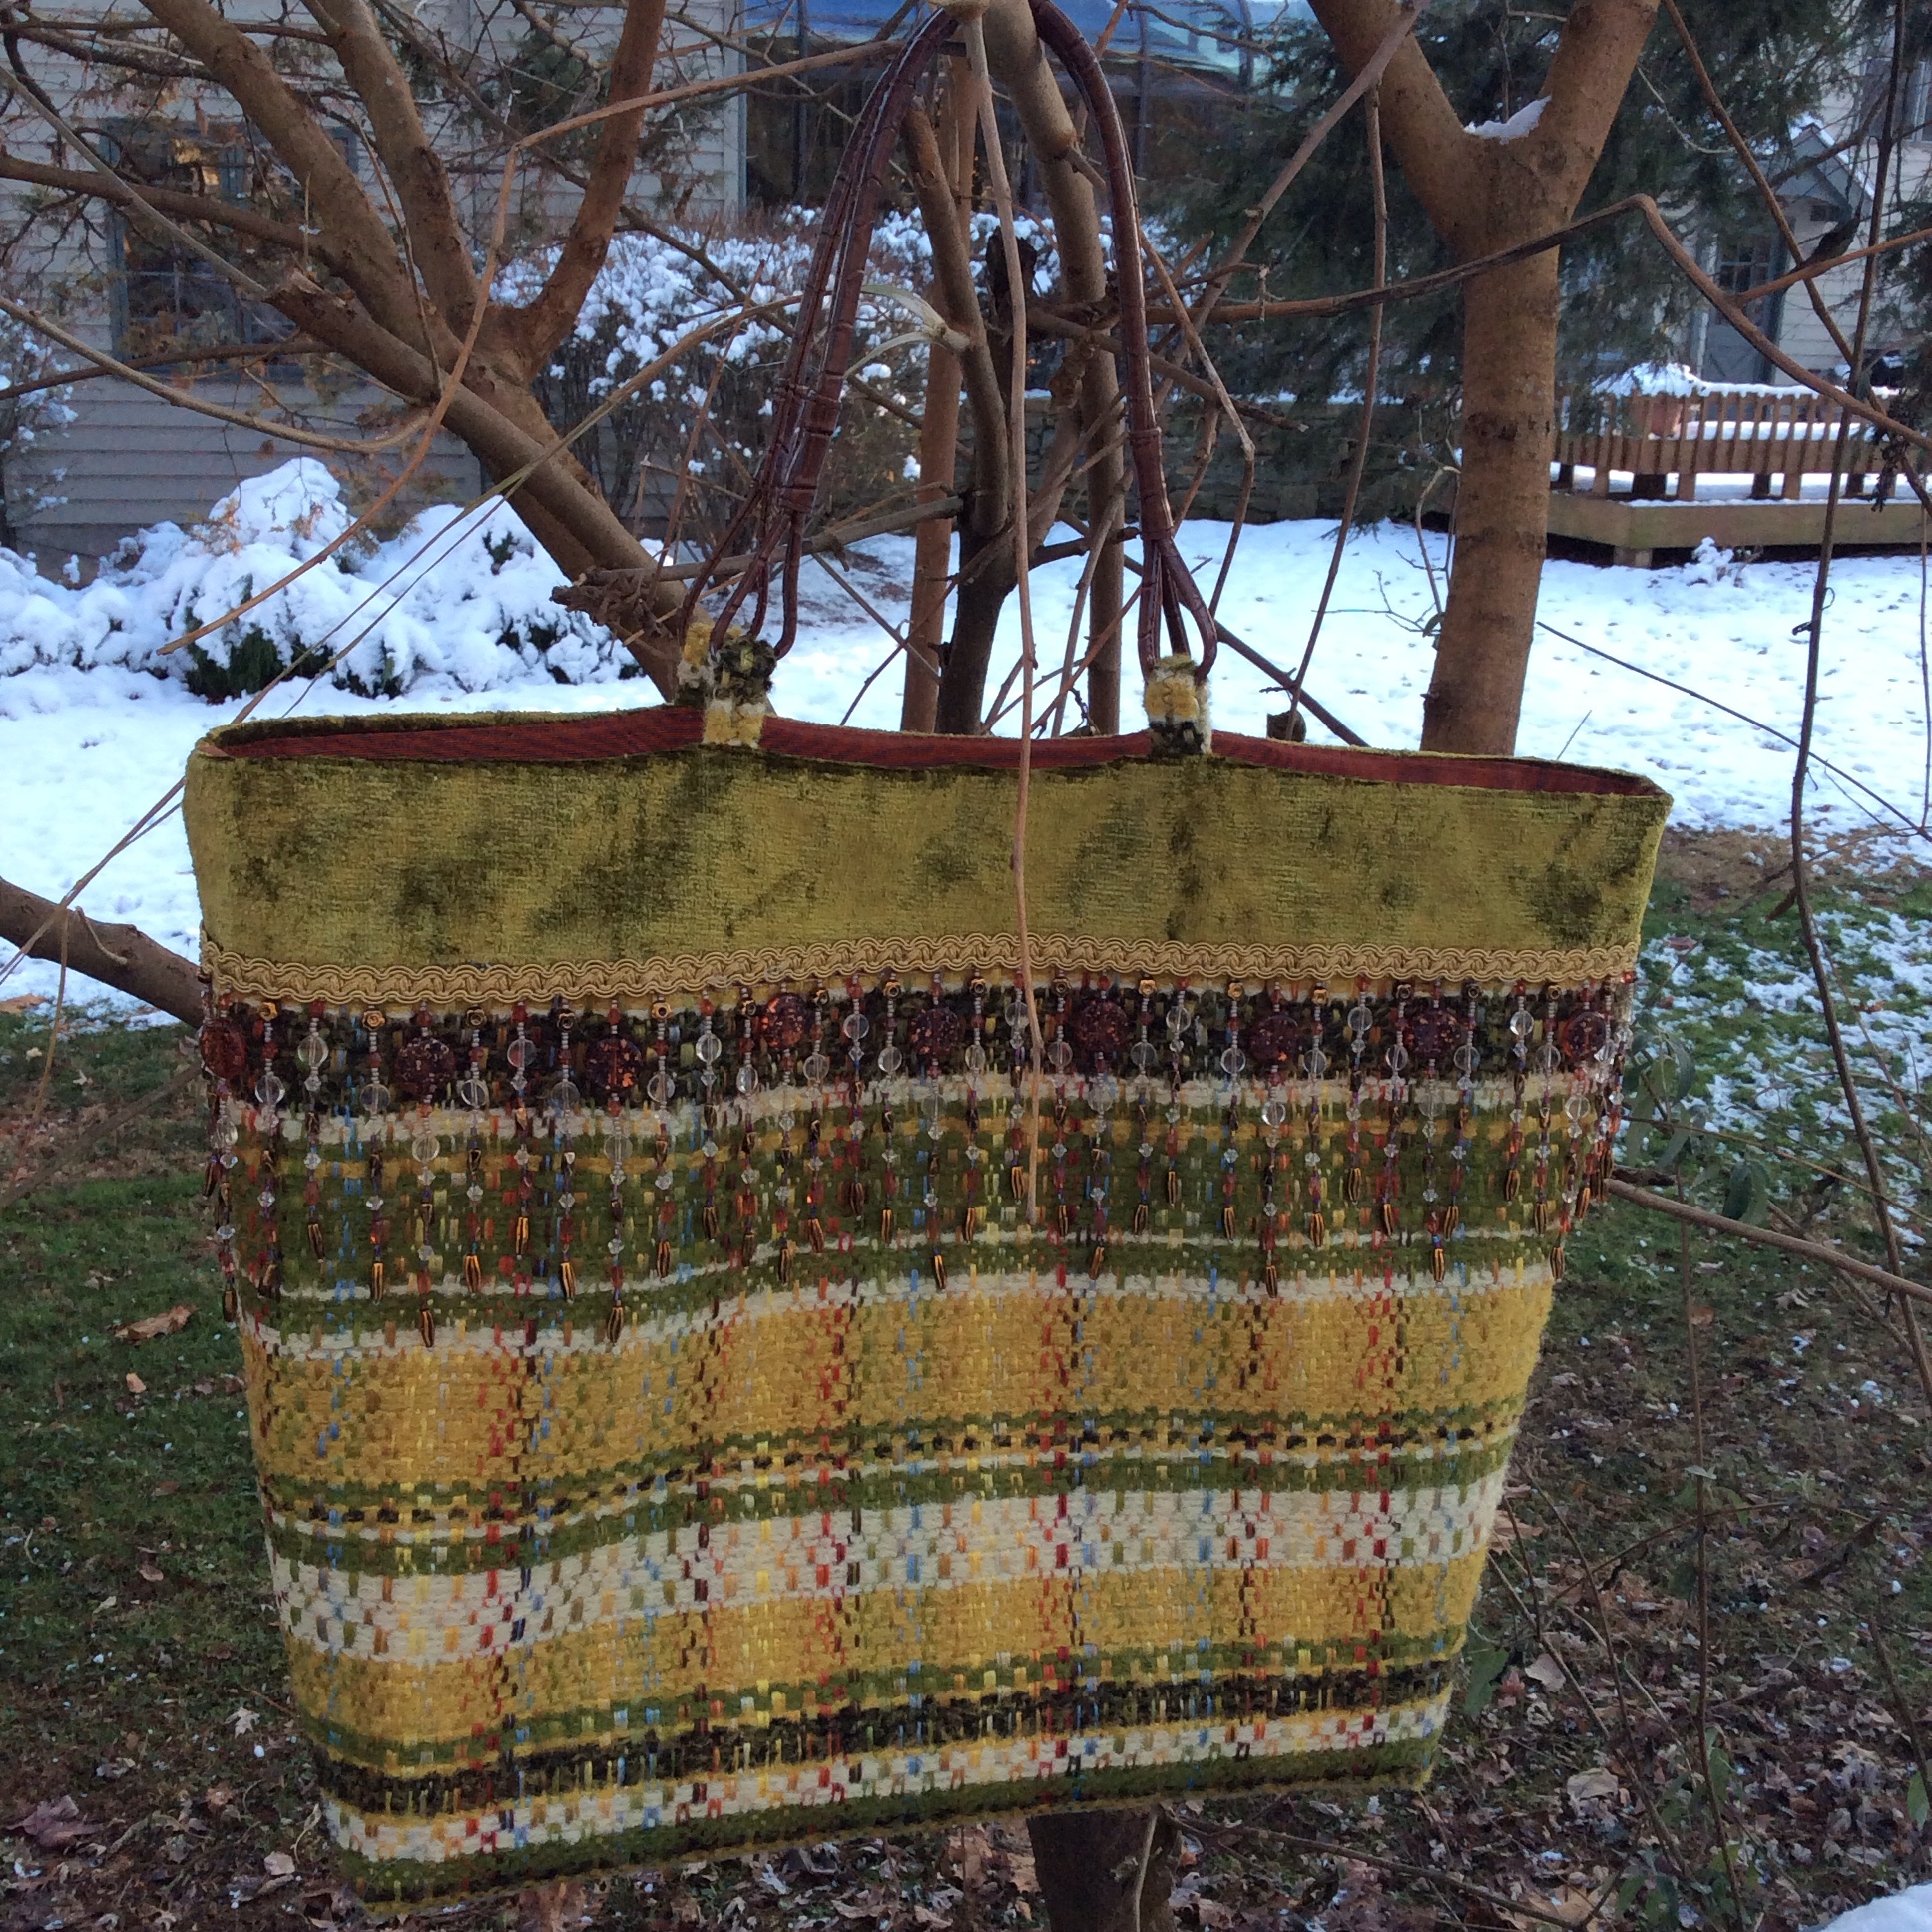
The smaller one is made from crushed velvet,taffeta, and a rayon home dec. fabric. I love to have the opportunity to add beading to my work. I also used knitting yarn for texture.

image

I have some more ideas that I want to explore so look for more soon.

Posted in Uncategorized | 5 Comments

Picking Up the Pieces

Burren Garment

On the day I returned from a “Design Outside the Lines” retreat in Sisters Oregon in June of this year, I found out my mother was very ill and was not going to make it. She passed away in Ireland less than three weeks later just two years after my Father. It was a huge shock as it all happened so fast.

A few days after her funeral, as I was leaving the farm I grew up on, I stopped and took some photos of the land that I had just inherited. It is in the area called the Burren in the west of Ireland. While looking back at those photos recently I remembered at one of the first sewing retreats that I attended, Diane Ericson spoke about ‘Memorial Garments’ to mark some major life moments. It could take many forms but I used fabric, beads, etc. from my stash that I thought gave life to my idea. I used Diane’s FaultLines pattern which I had wanted to make for a long time. While somewhat indulgent, I feel I made something meaningful that I would like to share. First some of my pictures and then a short tutorial of the sewing process.

imageimageimageimage

I was inspired by the colors and I already had everything I needed to make the garment. The main fabric was from a personal home decorating project. It’s rayon and had the weight and texture that I liked. The undershirt is a poly blend that I had for a while. And the hand painted silk is from Fabric Depot in Portland. I only had a yard but I did not end up using it in the garment, but it works great as a scarf. I finished the edge on my Serger and I may make a camisole eventually as I really love the print. The whole garment is lined in green dupioni silk.

.imageimageimage

I lined the main Jacket pieces leaving only the armhole edge open.

imageimage

I then hand-sewed the jacket together overlapping the seams. It was easier to manipulate the design and fit while hand-sewing.

image

I lined the collar piece and played around with it and liked how it looked using the back side. I can still put a scarf through it. I love to use different embellishments in one garment. Beads are one of my favorites. (The silver ones reminded me of the rocks on the Burren.)

imageimageimage

I used the same beaded treatment on the back and on the sleeve opening.

imageimage

I used two layers of fabric for the undershirt and the rolled edged on my serger to finish the edges. I went over the edge a second time without using the blade and I liked how it looked. I will definitely use this pattern again; it has so many options. Check out more ideas on www.dianeericson.com

I hope you enjoyed my little piece of Ireland.

Posted in Uncategorized | Tagged , | 5 Comments

Welcome to my Blog!

I have embarked on this adventure, first of all to inspire myself to live a more creative life and secondly to encourage others to do the same. Sewing and everything related, has been part of my life for as long as I can remember even as far back as when I was eight years old and cut about 8 inches off a beautiful white sheet my Mother bought because I thought she wouldn’t notice. What happened as a result is content for a different Blog! Through the years I have met amazing women who have inspired and encouraged me and have become my friends.  Marcy Tilton and Diane Ericson are on the top of my list. My first inspiring adventure was a visit to The Philadelphia Museum Of Art Craft Show. It’s a great mix of Wearable Art, Home Decor, all handmade. My favorites include:

Starr Hagenbring;

image

image

image

image

image

Andrea Geer Design

image

Annette Lynn Frye

image

image

Annie Turbin

image

Estella Fransbergen

Ceramic  Busts! Crochet beaded wire--stunning

Ceramic Busts!
Crochet beaded wire–stunning

image

Views from the floor!

image

image

image

image

Posted in Philly, Uncategorized | 8 Comments

Words by Bette Davis

To fulfill a dream, to be allowed to sweat over lonely labor, to be given the chance to create, is the meat and potatoes of life.

Posted in Uncategorized | Comments Off on Words by Bette Davis